call_end

    • chevron_right

      Matthew Garrett: Android privacy improvements break key attestation

      news.movim.eu / PlanetGnome • 12 December, 2024 • 5 minutes

    Sometimes you want to restrict access to something to a specific set of devices - for instance, you might want your corporate VPN to only be reachable from devices owned by your company. You can't really trust a device that self attests to its identity, for instance by reporting its MAC address or serial number, for a couple of reasons:
    • These aren't fixed - MAC addresses are trivially reprogrammable, and serial numbers are typically stored in reprogrammable flash at their most protected
    • A malicious device could simply lie about them
    If we want a high degree of confidence that the device we're talking to really is the device it claims to be, we need something that's much harder to spoof. For devices with a TPM this is the TPM itself. Every TPM has an Endorsement Key (EK) that's associated with a certificate that chains back to the TPM manufacturer. By verifying that certificate path and having the TPM prove that it's in posession of the private half of the EK, we know that we're communicating with a genuine TPM[1].

    Android has a broadly equivalent thing called ID Attestation. Android devices can generate a signed attestation that they have certain characteristics and identifiers, and this can be chained back to the manufacturer. Obviously providing signed proof of the device identifier is kind of problematic from a privacy perspective, so the short version[2] is that only apps installed using a corporate account rather than a normal user account are able to do this.

    But that's still not ideal - the device identifiers involved included the IMEI and serial number of the device, and those could potentially be used to correlate devices across privacy boundaries since they're static[3] identifiers that are the same both inside a corporate work profile and in the normal user profile, and also remains static if you move between different employers and use the same phone[4]. So, since Android 12, ID Attestation includes an "Enterprise Specific ID" or ESID. The ESID is based on a hash of device-specific data plus the enterprise that the corporate work profile is associated with. If a device is enrolled with the same enterprise then this ID will remain static, if it's enrolled with a different enterprise it'll change, and it just doesn't exist outside the work profile at all. The other device identifiers are no longer exposed.

    But device ID verification isn't enough to solve the underlying problem here. When we receive a device ID attestation we know that someone at the far end has posession of a device with that ID, but we don't know that that device is where the packets are originating. If our VPN simply has an API that asks for an attestation from a trusted device before routing packets, we could pass that on to said trusted device and then simply forward the attestation to the VPN server[5]. We need some way to prove that the the device trying to authenticate is actually that device.

    The answer to this is key provenance attestation. If we can prove that an encryption key was generated on a trusted device, and that the private half of that key is stored in hardware and can't be exported, then using that key to establish a connection proves that we're actually communicating with a trusted device. TPMs are able to do this using the attestation keys generated in the Credential Activation process, giving us proof that a specific keypair was generated on a TPM that we've previously established is trusted.

    Android again has an equivalent called Key Attestation. This doesn't quite work the same way as the TPM process - rather than being tied back to the same unique cryptographic identity, Android key attestation chains back through a separate cryptographic certificate chain but contains a statement about the device identity - including the IMEI and serial number. By comparing those to the values in the device ID attestation we know that the key is associated with a trusted device and we can now establish trust in that key.

    "But Matthew", those of you who've been paying close attention may be saying, "Didn't Android 12 remove the IMEI and serial number from the device ID attestation?" And, well, congratulations, you were apparently paying more attention than Google. The key attestation no longer contains enough information to tie back to the device ID attestation, making it impossible to prove that a hardware-backed key is associated with a specific device ID attestation and its enterprise enrollment.

    I don't think this was any sort of deliberate breakage, and it's probably more an example of shipping the org chart - my understanding is that device ID attestation and key attestation are implemented by different parts of the Android organisation and the impact of the ESID change (something that appears to be a legitimate improvement in privacy!) on key attestation was probably just not realised. But it's still a pain.

    [1] Those of you paying attention may realise that what we're doing here is proving the identity of the TPM, not the identity of device it's associated with. Typically the TPM identity won't vary over the lifetime of the device, so having a one-time binding of those two identities (such as when a device is initially being provisioned) is sufficient. There's actually a spec for distributing Platform Certificates that allows device manufacturers to bind these together during manufacturing, but I last worked on those a few years back and don't know what the current state of the art there is

    [2] Android has a bewildering array of different profile mechanisms, some of which are apparently deprecated, and I can never remember how any of this works, so you're not getting the long version

    [3] Nominally, anyway. Cough.

    [4] I wholeheartedly encourage people not to put work accounts on their personal phones, but I am a filthy hypocrite here

    [5] Obviously if we have the ability to ask for attestation from a trusted device, we have access to a trusted device. Why not simply use the trusted device? The answer there may be that we've compromised one and want to do as little as possible on it in order to reduce the probability of triggering any sort of endpoint detection agent, or it may be because we want to run on a device with different security properties than those enforced on the trusted device.

    comment count unavailable comments
    • chevron_right

      Aryan Kaushik: GNOME Asia India 2024

      news.movim.eu / PlanetGnome • 11 December, 2024 • 5 minutes

    Namaste Everyone!

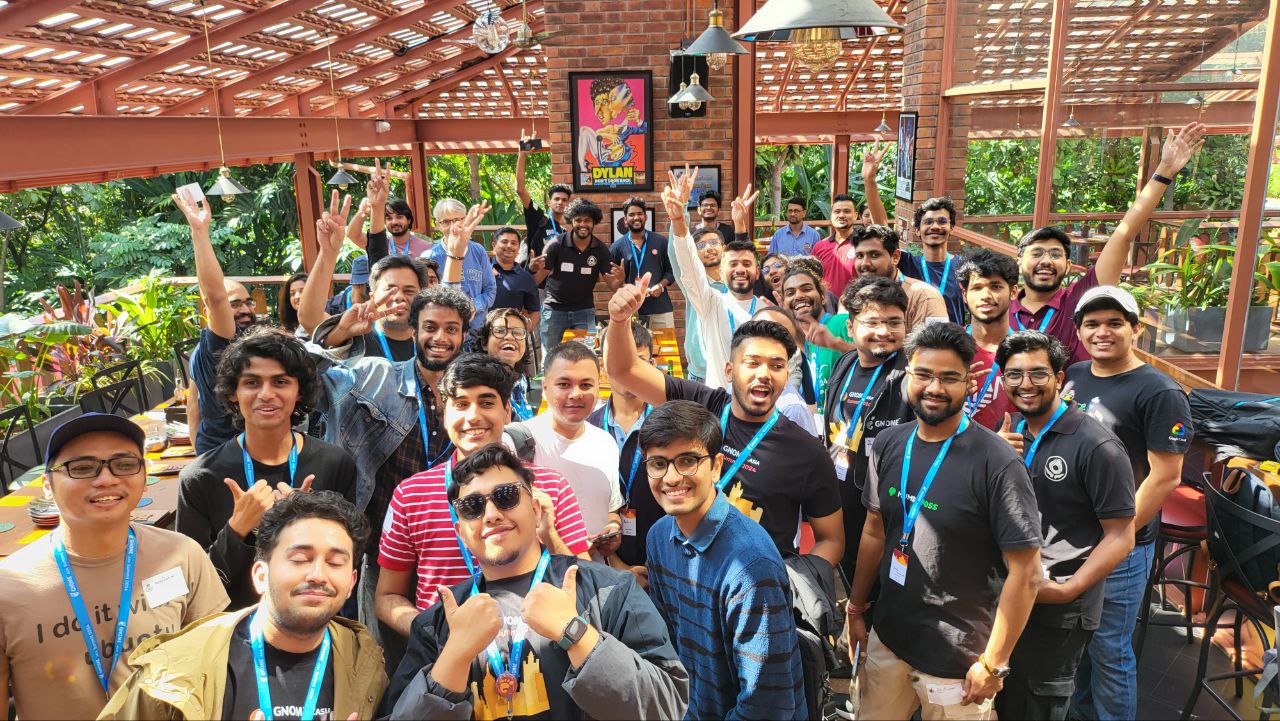
    Hi everyone, it was that time of the year again when we had our beloved GNOME Asia happening.

    Last year GNOME Asia happened in Kathmandu Nepal from December 1 - 3 and this time it happened in my country in Bengaluru from 6th to 8th.

    Btw, a disclaimer - I was there on behalf of Ubuntu but the opinions over here are my own :)

    Also, this one might not be that interesting due to well... reasons.

    Day 0 (Because indexing starts with 0 ;))

    Before departing from India... oh, I forgot this one was in India only haha.

    This GNOME Asia had a lot of drama, with the local team requiring an NDA to sign which we got to know only hours before the event and we also got to know we couldn't host an Ubuntu release party there even when it was agreed to months and again a few weeks ago and even on the same day as well in advance... So yeah... it was no less than an India Daily soap episode, which is quite ironic lol.

    But, in the end, I believe the GNOME team would have not known about it as well, and felt like local team problems.

    Enough with the rant, it was not all bad, I got to meet some of my GNOMEies and Ubunties (is that even a word?) friends upon arriving, and man did we had a blast.

    We hijacked a cafe and sat there till around 1 A.M. and laughed so hard we might have been termed Psychopaths by the watchers.

    But what do we care, we were there for the sole purpose of having as much fun as we could.

    After returning, I let my inner urge win and dived into the swimming pool on the hotel rooftop, at 2 A.M. in winter. Talk about the will to do anything ;)

    Day 1

    Upon proceeding to the venue we were asked for corporate ID cards as the event was in the Red Hat office inside a corporate park. We didn't know this and thus had to travel 2 more K.M. to the main entrance and get a visitor pass. Had to give an extra tip to the cab so that he wouldn't give me the look haha.

    Upon entering the tech park, I got to witness why Bengaluru is often termed India's Silicon Valley. It was just filled with companies of every type and size so that was a sight to behold.

    The talk I loved that day was "Build A GNOME Community? Yes You Can." by Aaditya Singh, full of insights and fun, we term each other as Bhai (Hindi for Brother) so it was fun to attend his talk.

    This time I wasn't able to attend many of the talks as I now had the responsibility to explore a new venue for our release party.

    Later I and my friends took a detour to find the new venue, and we did it quite quickly about 400 metres away from the office.

    This venue had everything we needed, a great environment, the right "vibe", and tons of freedom, which we FOSS lovers of course love and cherish.

    It also gave us the freedom to no longer be restricted to event end, but to shift it up to the Lunch break.

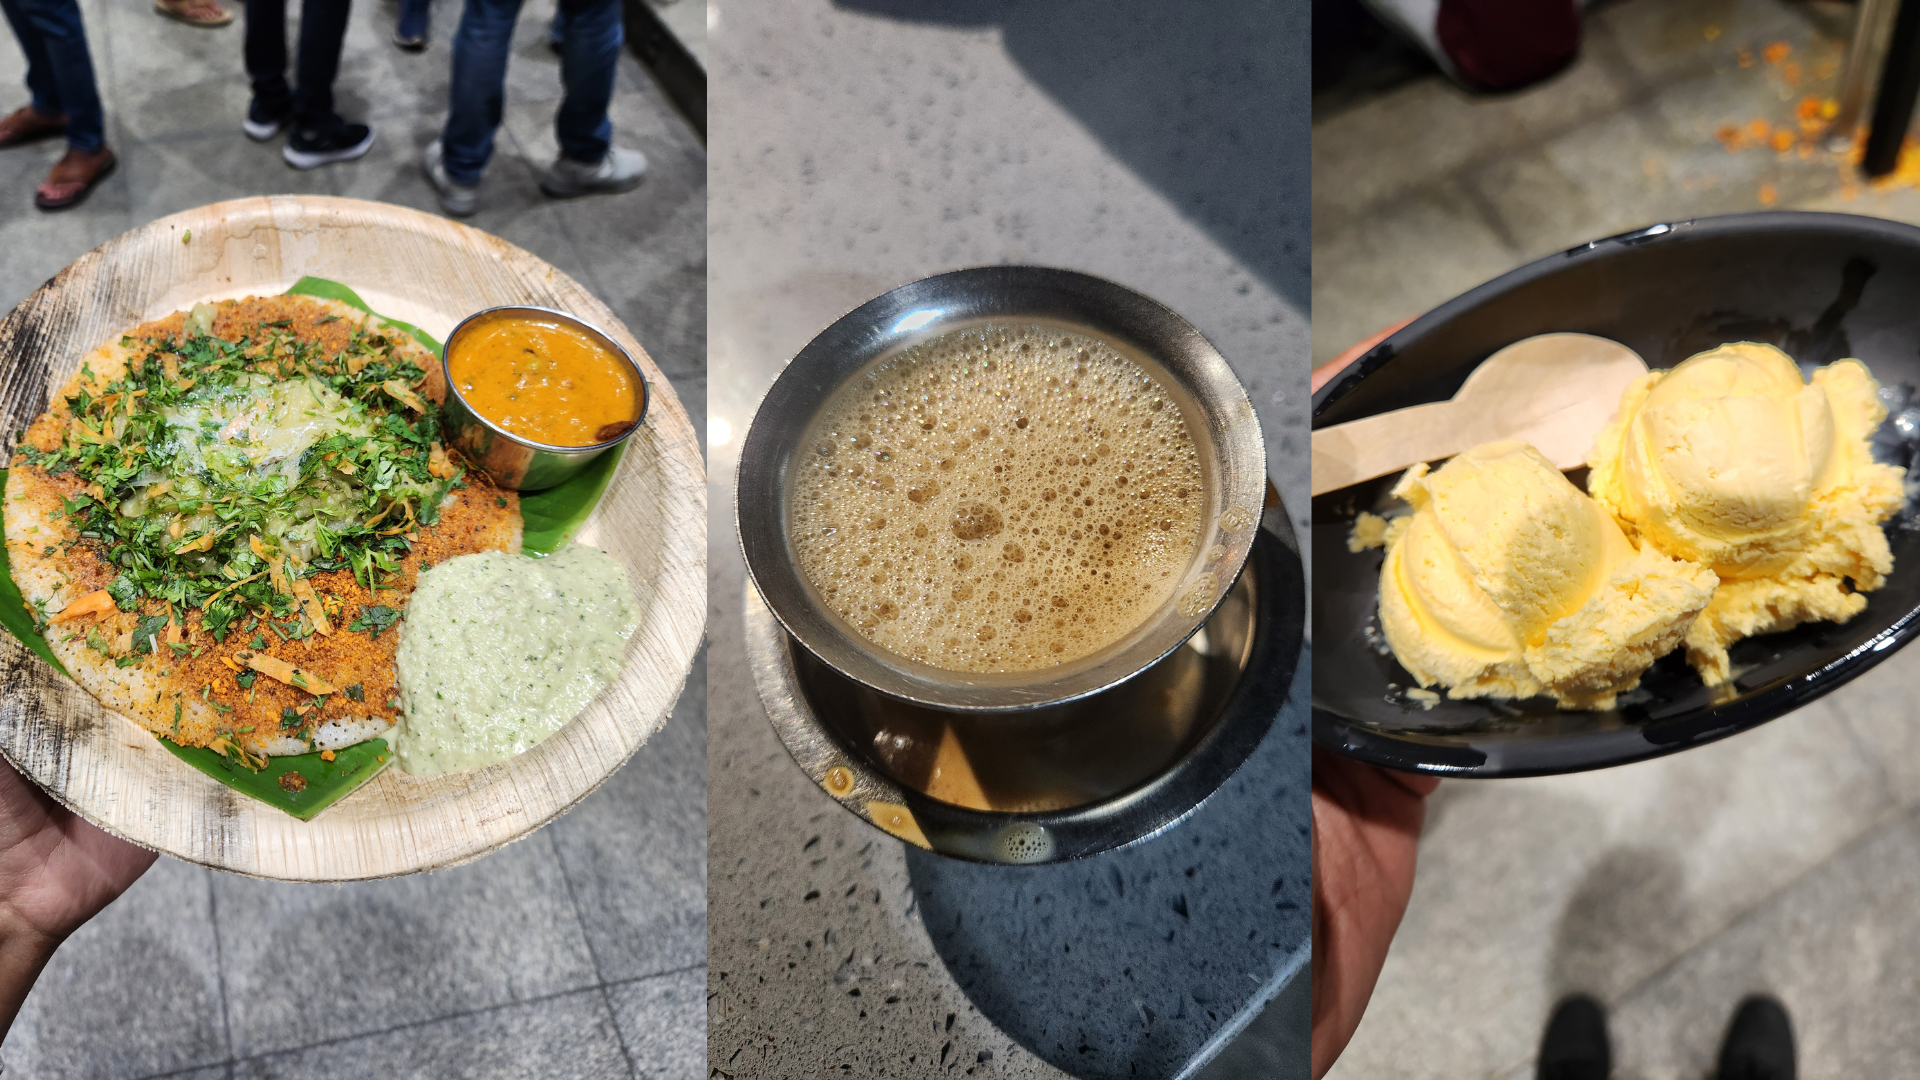
    At night me, Fenris and Syazwan went to "The Rameshwaram Cafe" which is very famous in Bengaluru, and rightly so, the taste was really good and for the fame not that expensive either.

    Fenris didn't eat much as he still has to sober up to Indian dishes xD.

    Day 2

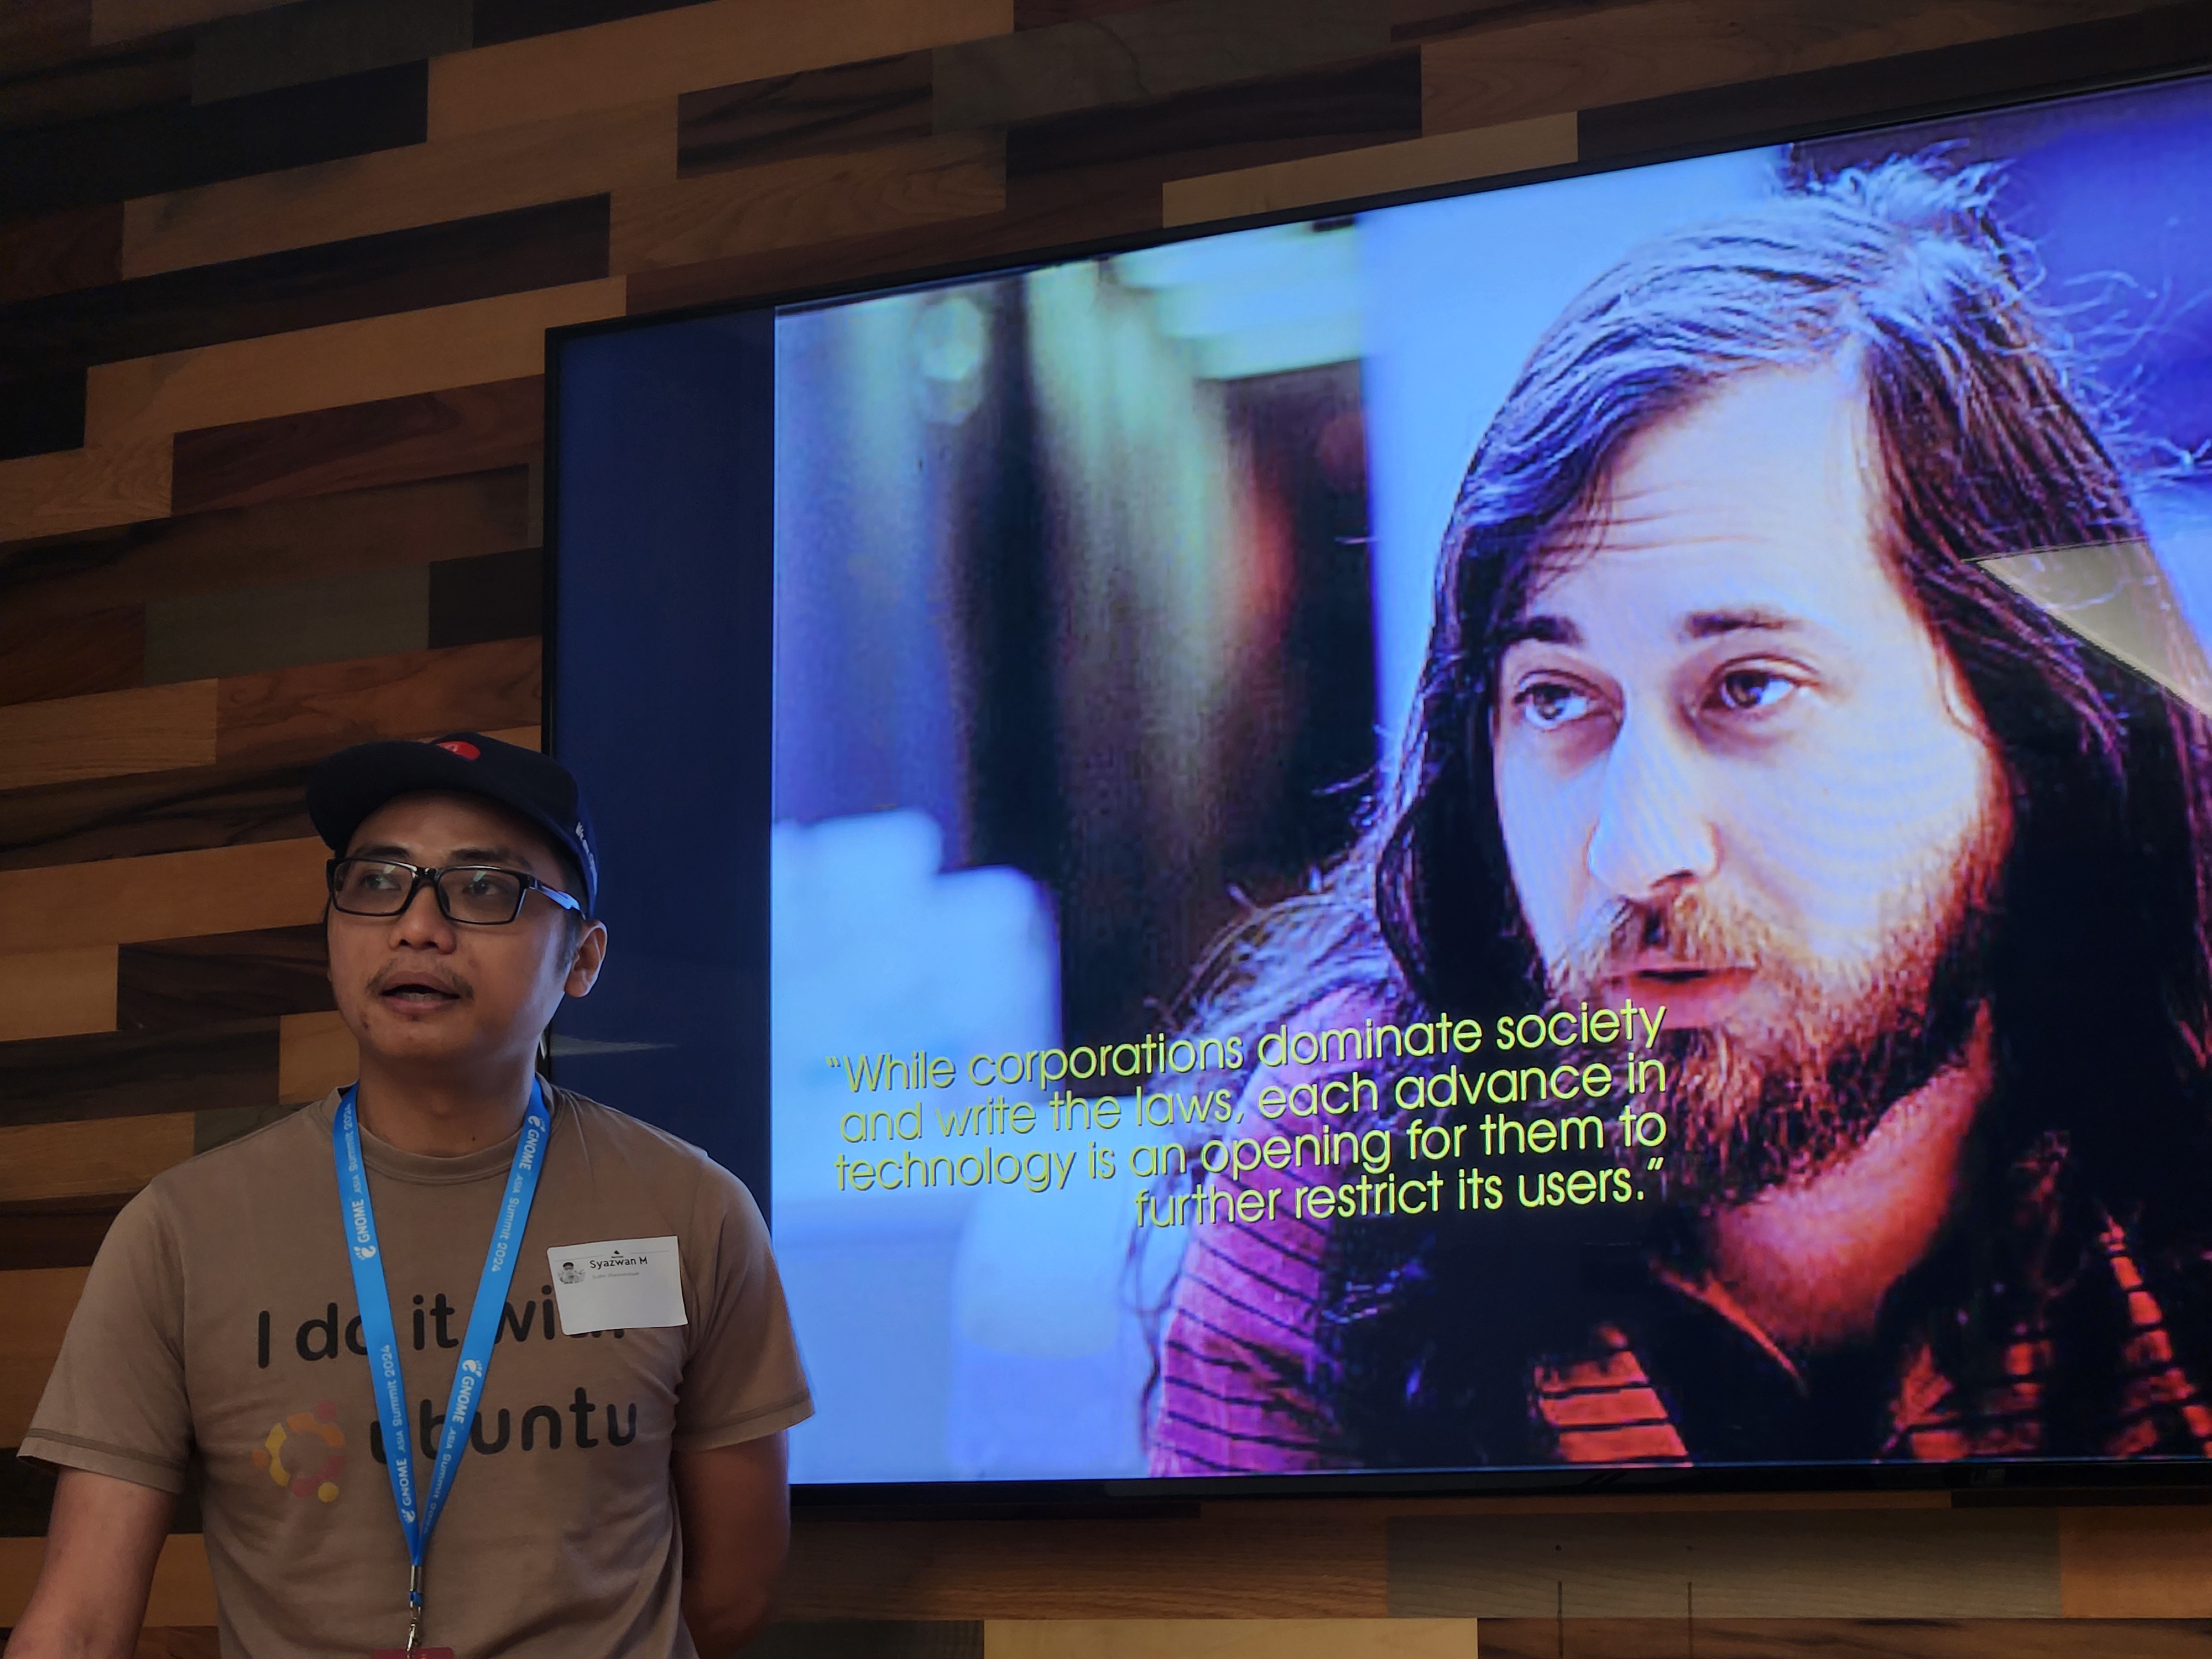
    The first talk was by Syazwan and boy did I have to rush to the venue to attend it.

    Waking up early is not easy for me hehe but his talks are always so funny, engaging and insightful that you just can't miss attending it live.

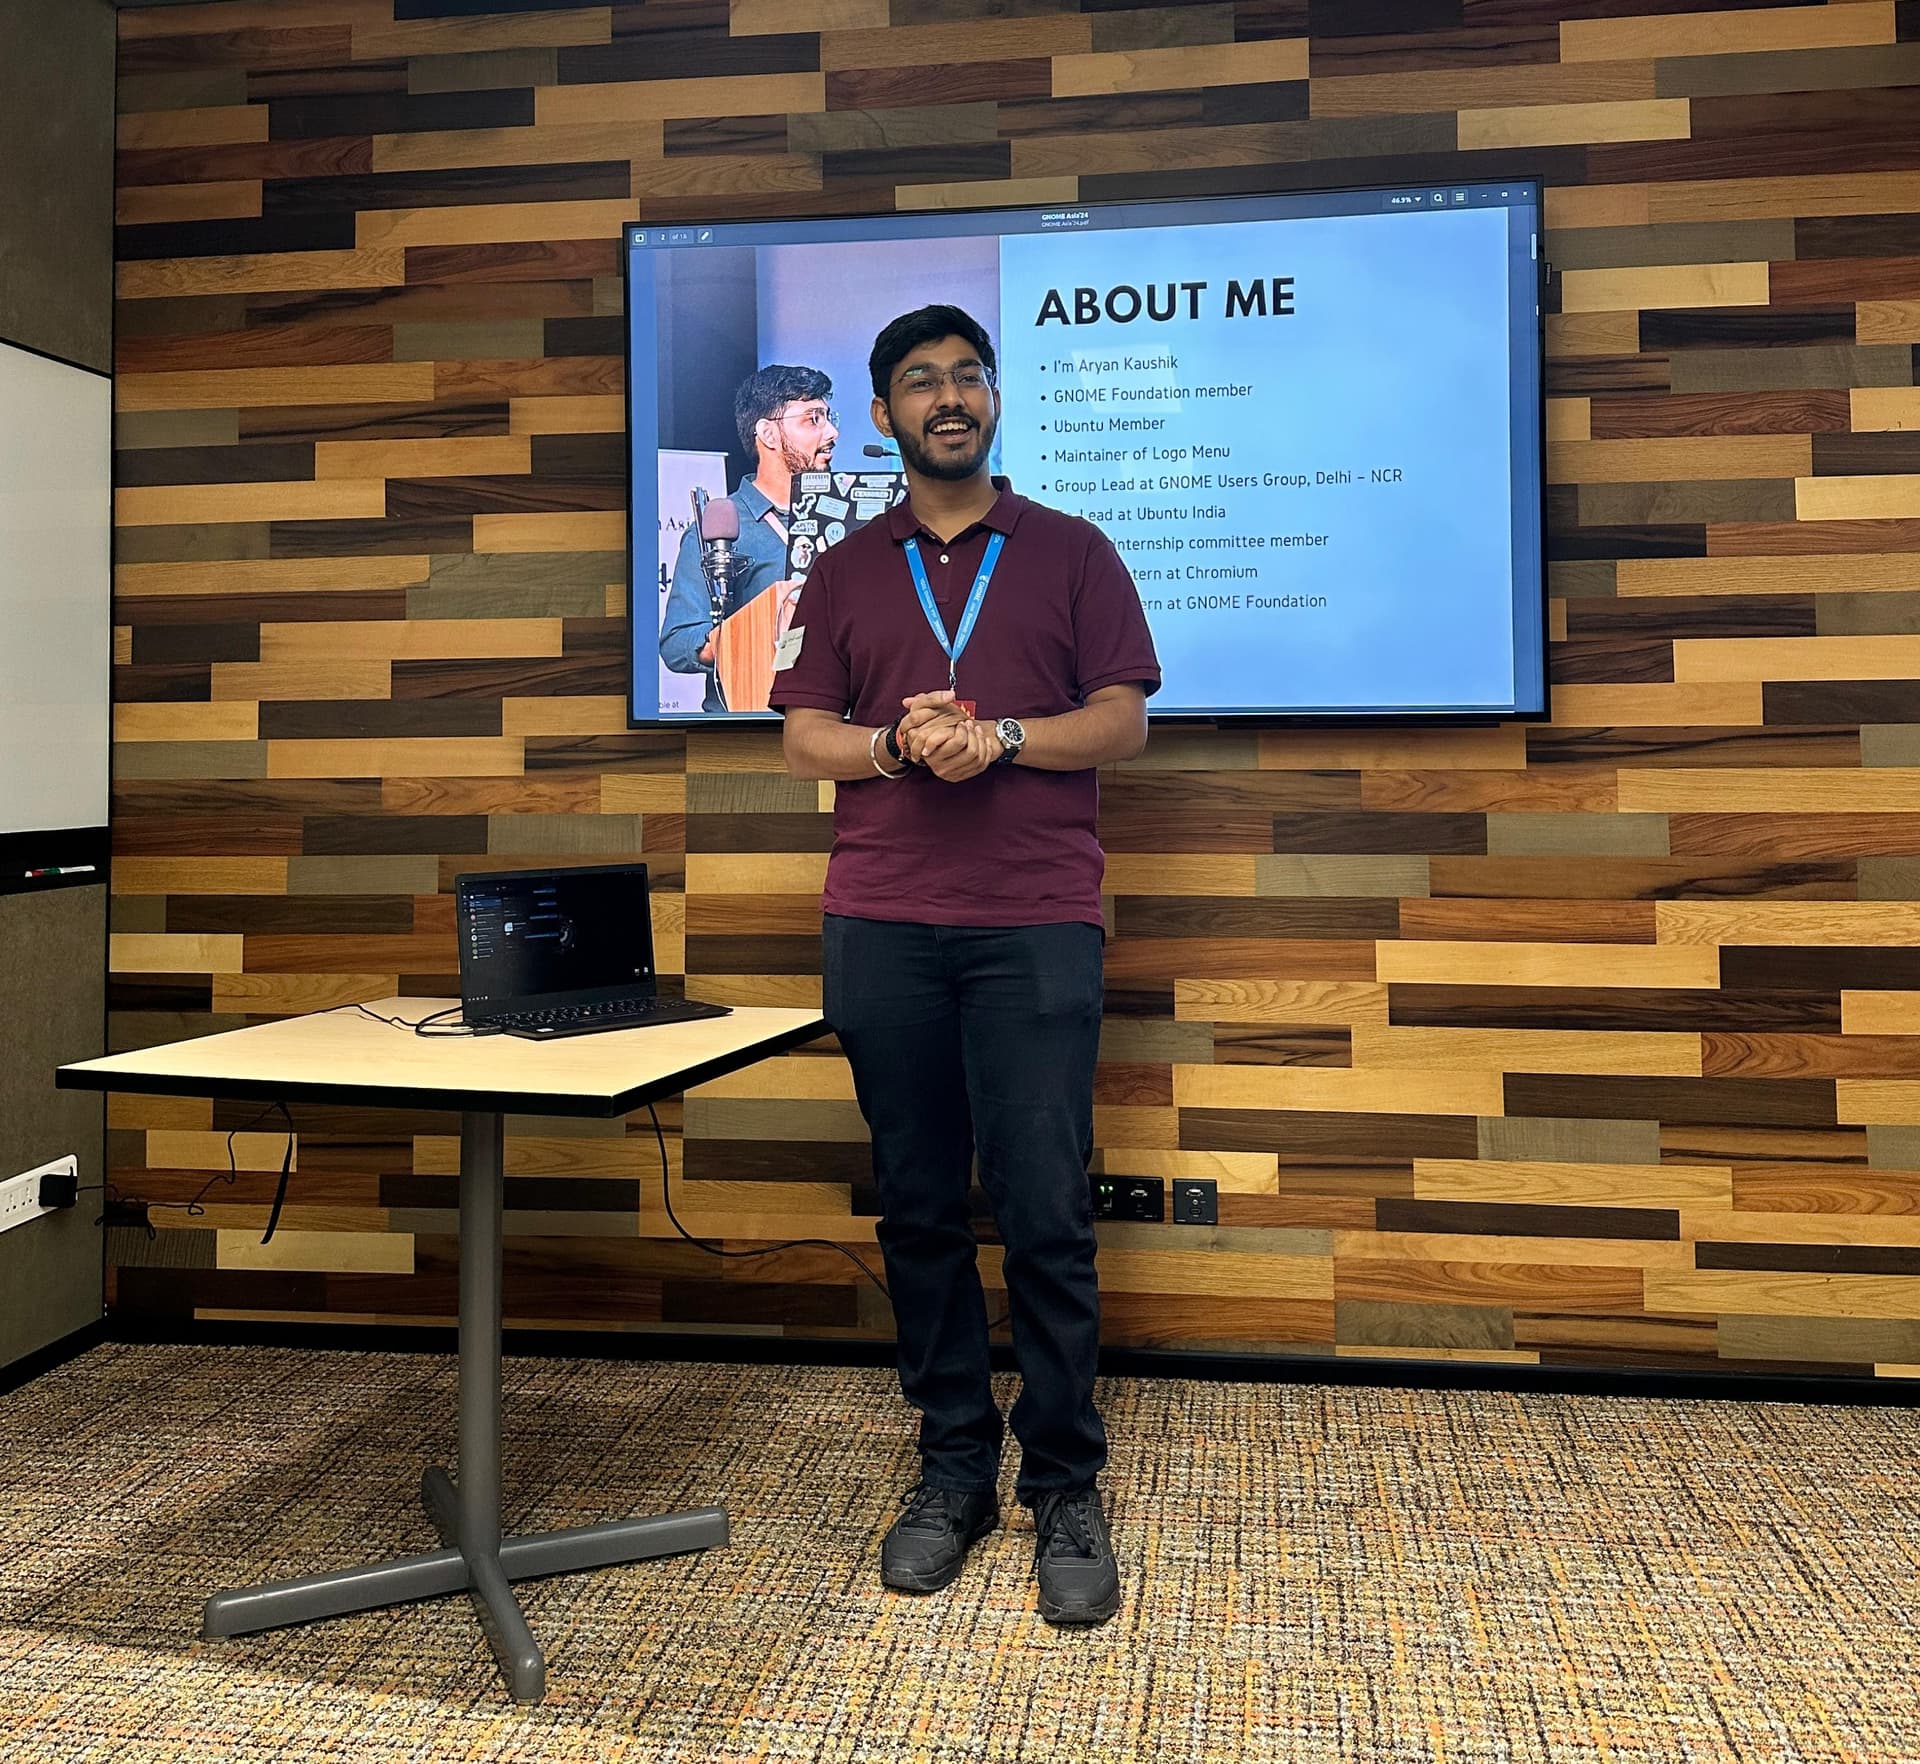
    After a few talks came my time to present on the topic “Linux in India: A perspective of how it is and what we can do to improve it.”

    Where we discussed all the challenges faced by us in boosting the market share of Linux and open source in India and what measures we could take to improve the situation.

    We also glimpsed over the state of Ubuntu India LoCo and the actions we are taking to reboot it, with multiple events like the one we just conducted.

    My talk can be viewed at - YouTube - Linux in India: A perspective of how it is and what we can do to improve it.

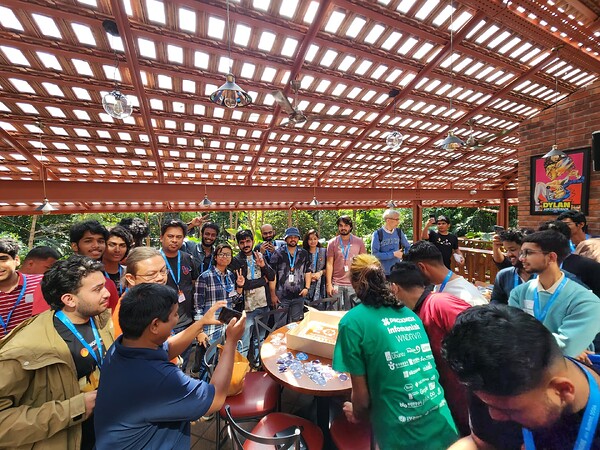
    And that was quite fun, I loved the awesome feedback I got and it is just amazing to see people loving your content. We then quickly rushed to the venue of the party, track 1 was already there and with us, we took track 2 peeps as well.

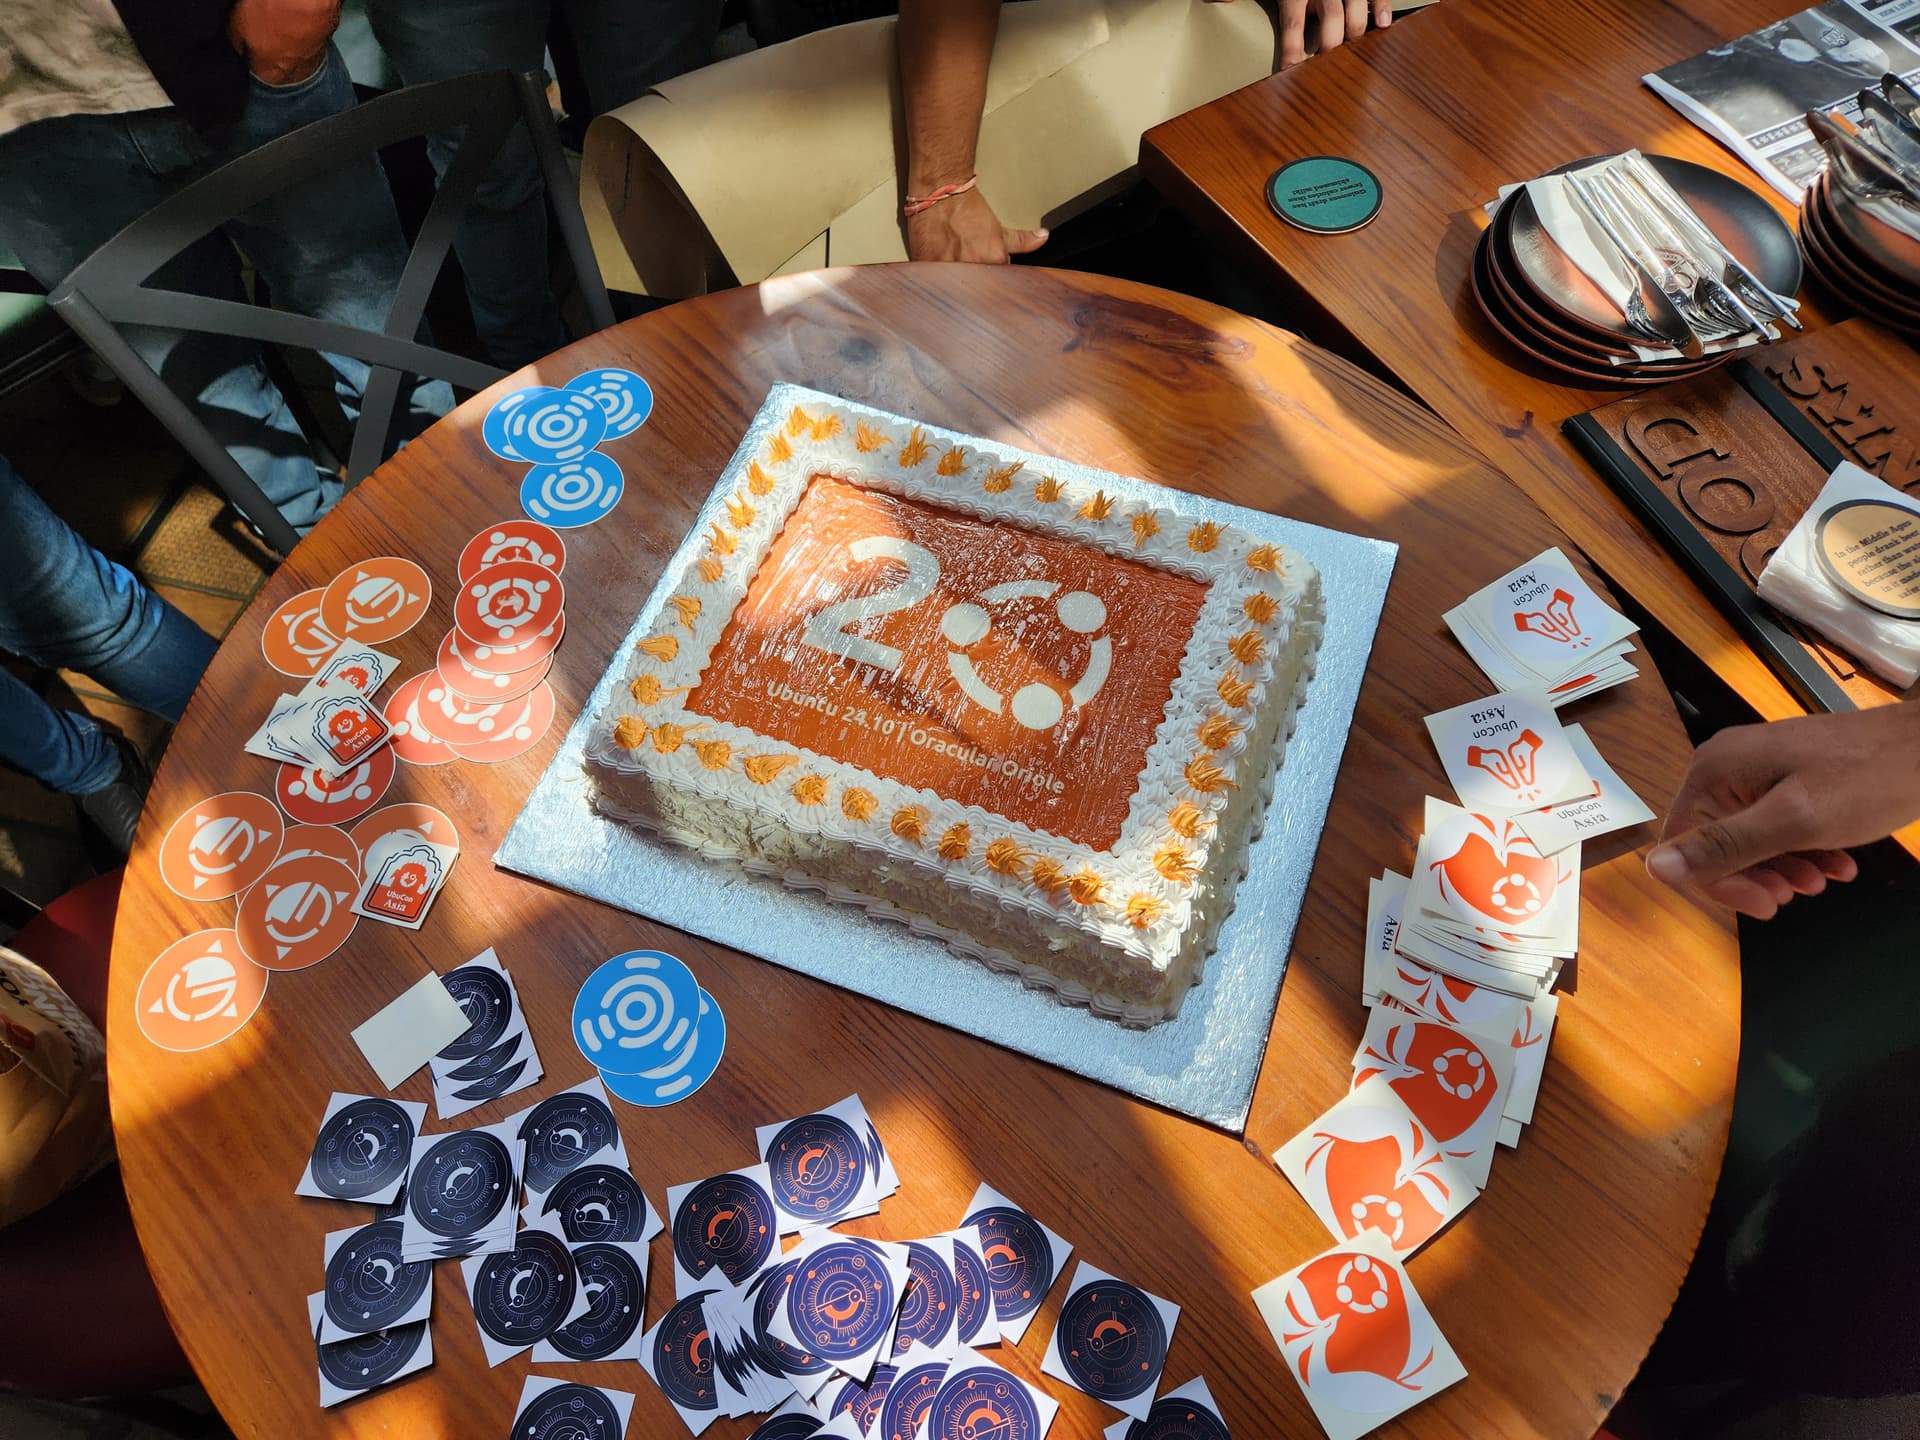
    To celebrate we cut cake and gave out some Ubuntu flavours stickers, Ubuntu 24.10 Oracular Oriole stickers and UbuCon Asia 2024 stickers followed by a delicious mix of vegetarian and non-vegetarian pizzas.

    Despite the short duration of just one hour during lunch, the event created a warm and welcoming space for attendees, encapsulating Ubuntu’s philosophy: “Making technology human” and “Linux for human beings.”

    The event was then again followed by GNOME Asia proceedings.

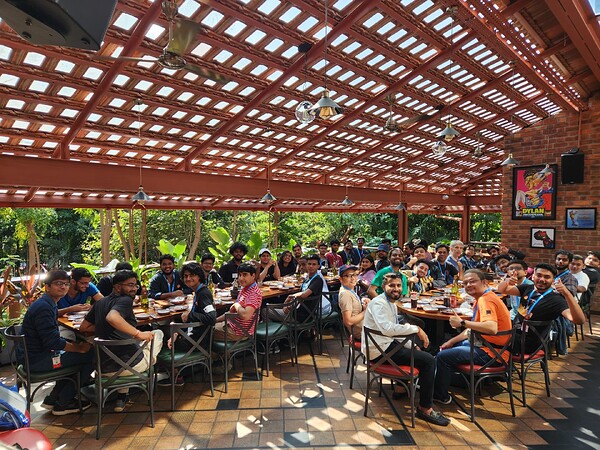
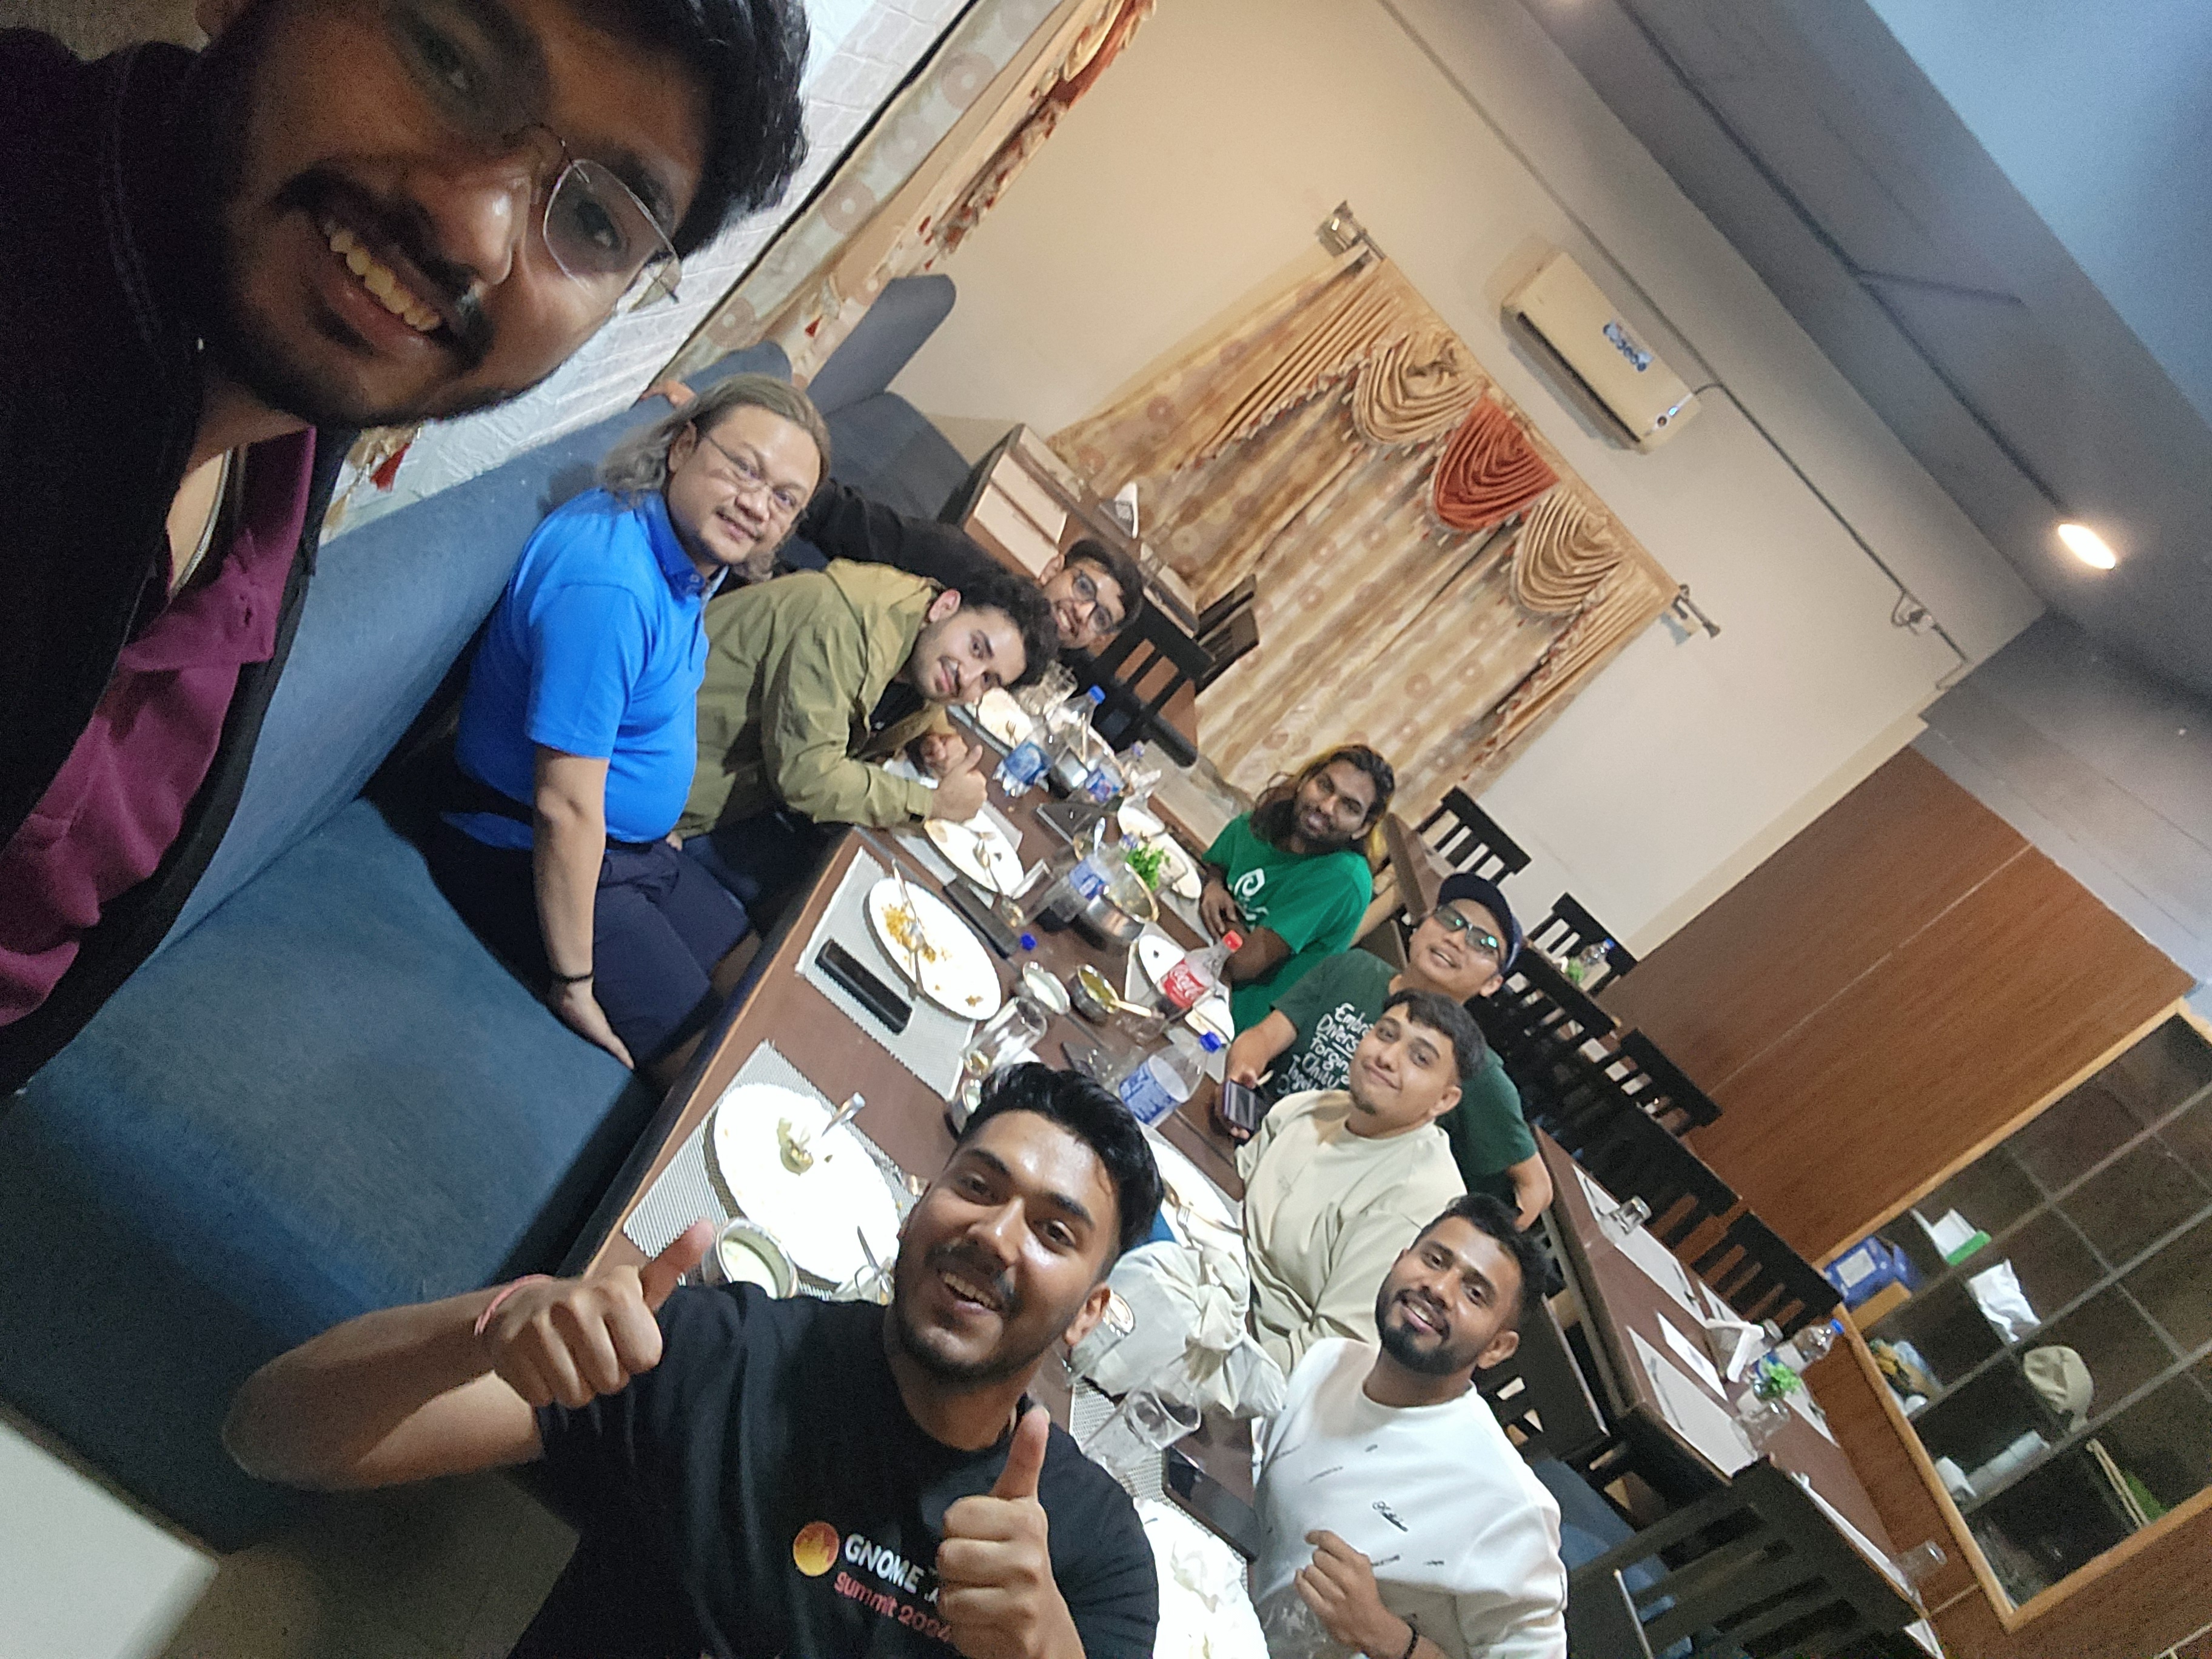
    At night we all Ubunties and GNOMEies and Debian grouped for Biryani dinner. We first hijacked the Biryani place and then moved on to hijacking another Cafe. The best thing was that none of them kicked us out, I seriously believed they would considering our activities lol. I for the first time played Jenga and we had a lot of jokes which I can't say in public for good reasons.

    At that place, the GNOME CoC wasn't considered haha.

    Day 3

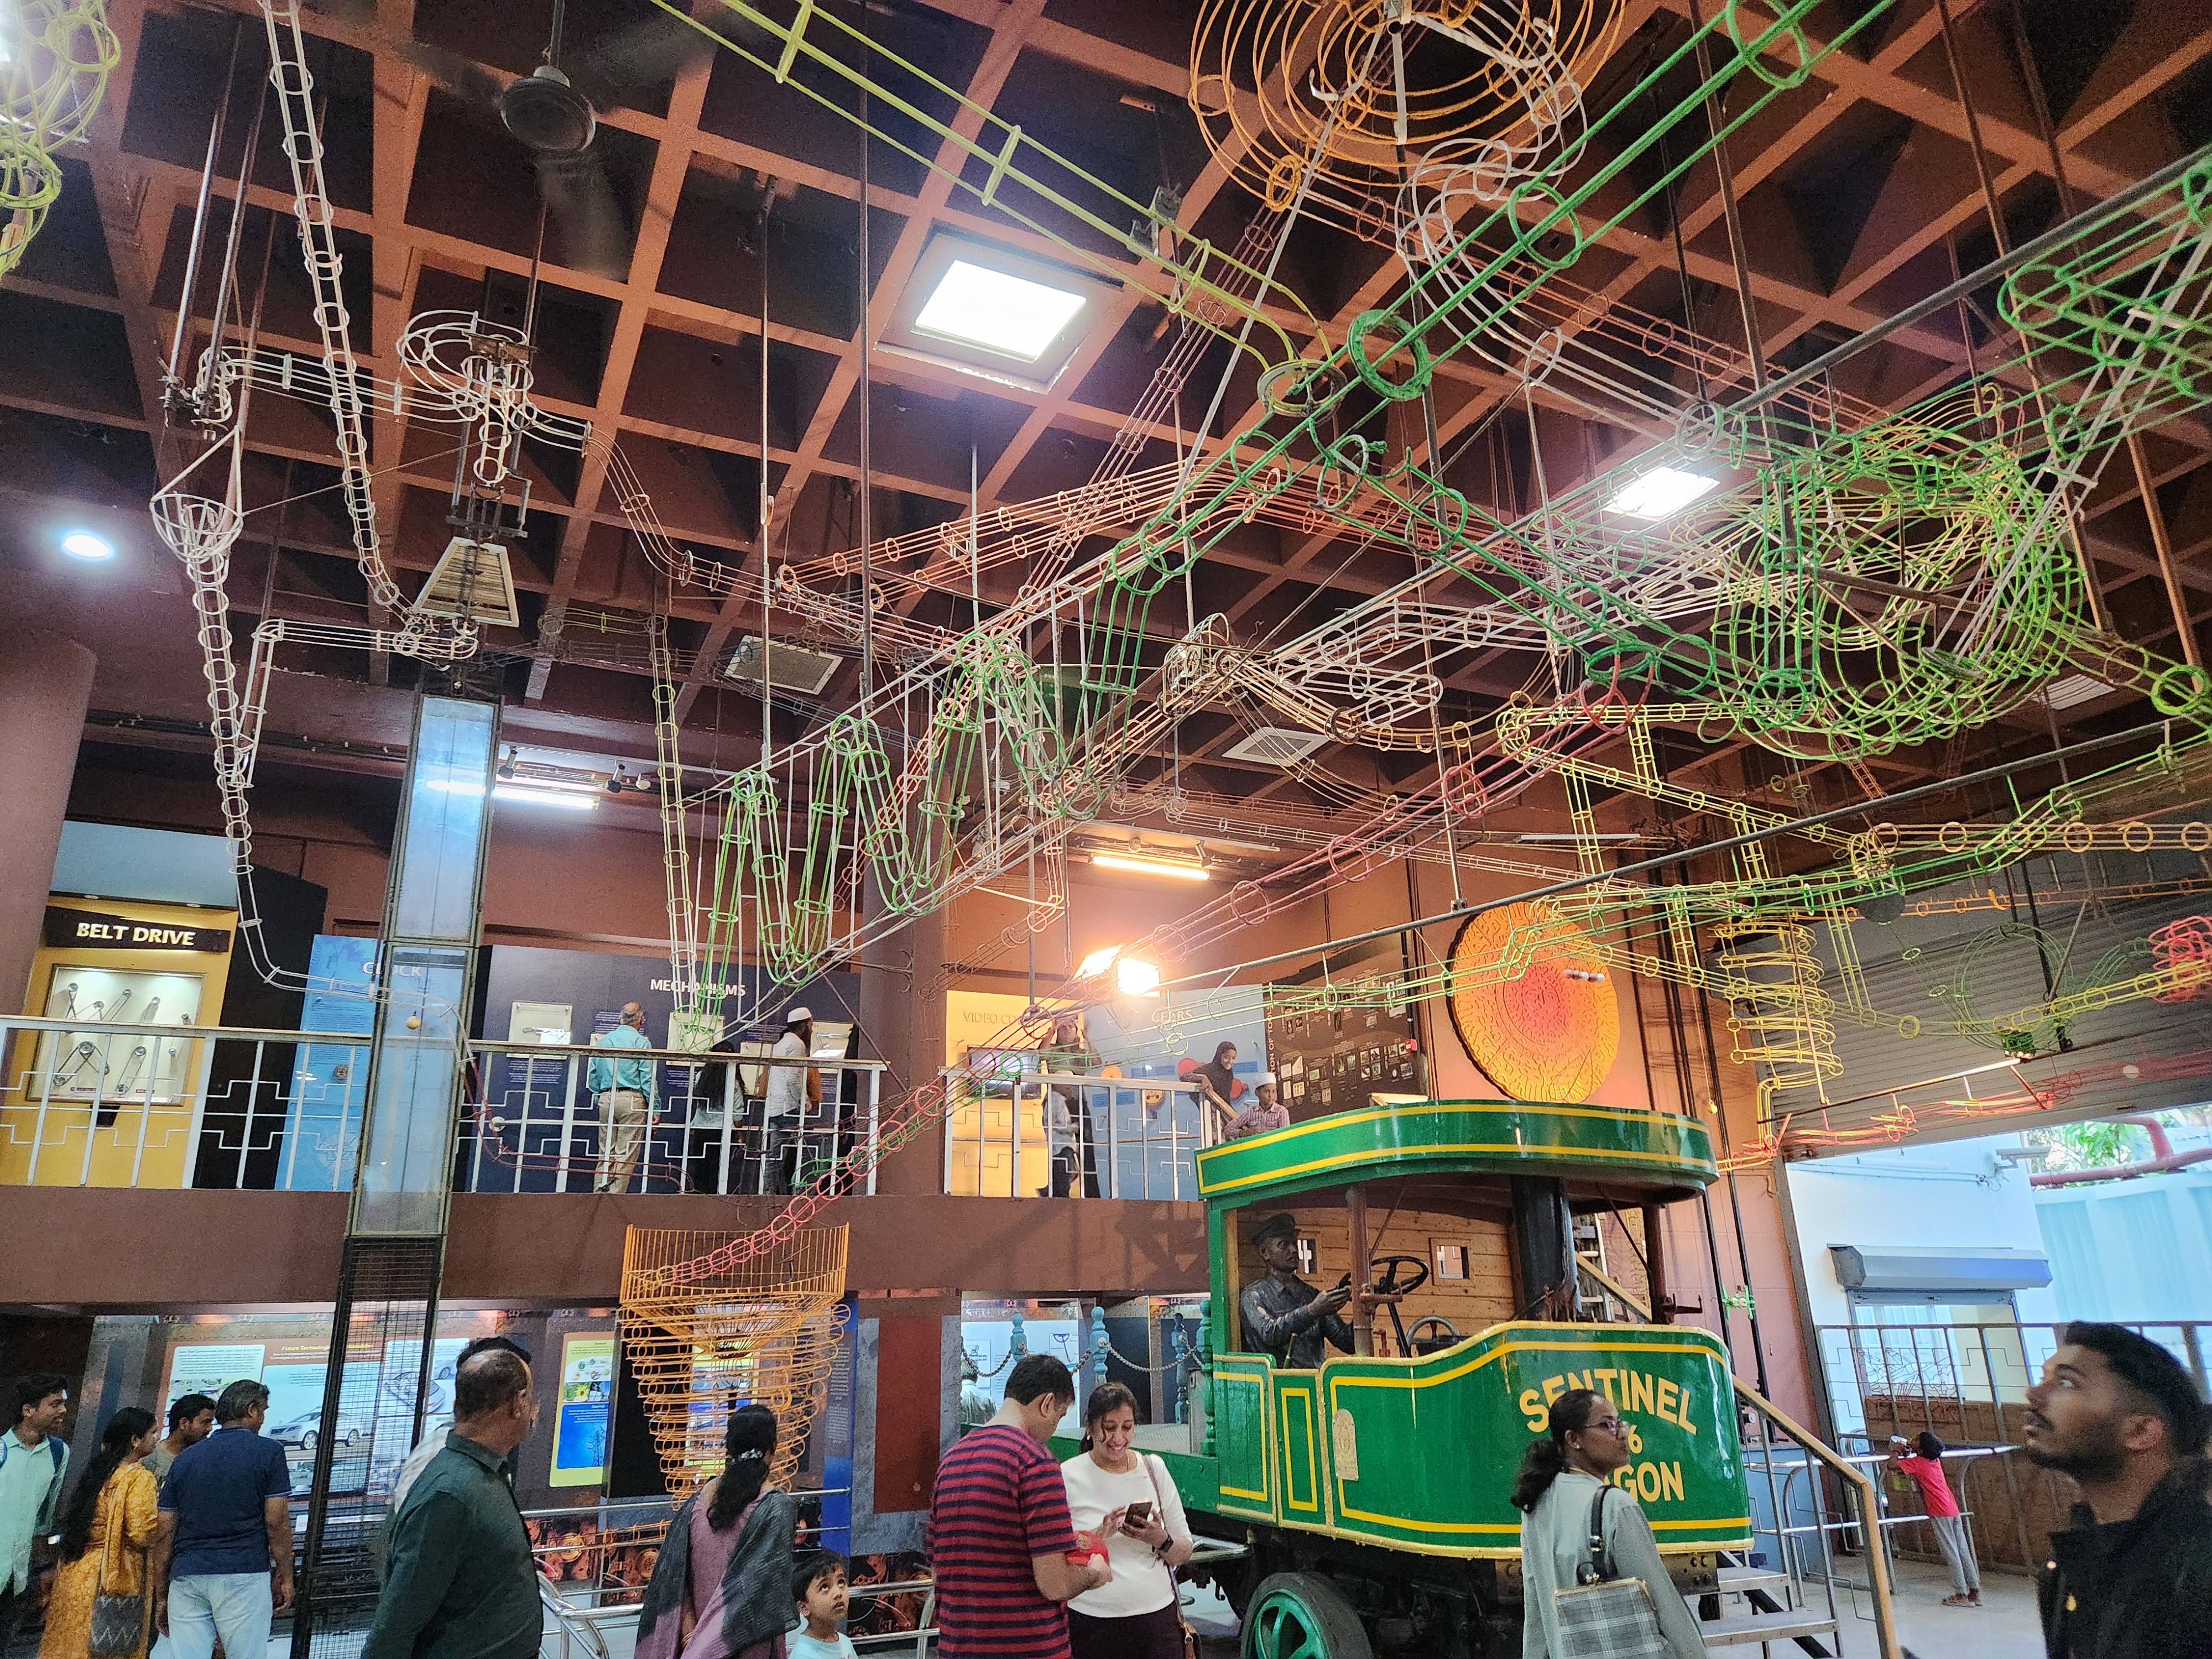
    Day 3 was a social visit, the UbuCon Asia 2025 organising team members conducted our own day trip, exploring the Technology Museum, Beautiful Cubbon Park, and the magnificent Vidhana Soudha of Karnataka.

    I met my friend Aman for the first time since GNOME Asia Malaysia which was Awesome! And I also met my Outreachy mentee in person, which was just beautiful.

    The 3-day event was made extremely joyful due to meeting old friends and colleagues. It reminded me of why we have such events so that we can group the community more than ever and celebrate the very ethos of FOSS.

    As many of us got tired and some had flights, the day trip didn't last long, but it was nice.

    At night I had one of my best coffees ever and tried "Plain Dosa with Mushroom curry" a weird but incredibly tasty combo.

    End

    Special thanks to Canonical for their CDA funding, which made it possible for me to attend in person and handle all arrangements on very short notice. :smiley:

    Looking forward to meeting many of them again at GUADEC or GNOME Asia 2025 :D

    • wifi_tethering open_in_new

      This post is public

      www.aryank.in /posts/2024-12-11-gnome-asia-india-2024/

    • chevron_right

      Christian Hergert: CLI Command Tree

      news.movim.eu / PlanetGnome • 11 December, 2024 • 1 minute

    A core tenant of Foundry is a pleasurable command-line experience. And one of the most creature-comforts there is tab-completion.

    But how you go about doing that is pretty different across every shell. In Flatpak , they use a hidden internal command called “ complete ” which takes a few arguments and then does magic to figure out what you wanted.

    Implementing that when you have one layer of commands is not too difficult even to brute force. But imagine for a second that every command may have sub-commands and it can get much more difficult. Especially if each of those sub-commands have options that must be applied before diving into the next sub-command.

    Such is the case with foundry, because I much prefer foundry config switch over foundry config-switch . Particularly because you may have other commands like foundry config list . It feels much more spatially aware to me.

    There will be a large number of commands implemented over time, so keeping the code at the call-site rather small is necessary. Even more so when the commands could be getting proxied from another process or awaiting for futures to complete.

    With all those requirements in mind, I came up with FoundryCliCommandTree . The tree is built as an n-ary tree using GNode where you register a command vtable with the command parts like ["foundry", "config", "switch"] .

    At each layer you can have GOptionEntry like you normally use with GLib-based projects but in this case they will end up in a FoundryCliOptions very similar to what GApplicationClass.local_command_line() does.

    So now foundry has a builtin “ complete ” command like Flatpak and works fairly similarly though with the added complexity to support my ideal ergonomics.

    • wifi_tethering open_in_new

      This post is public

      blogs.gnome.org /chergert/2024/12/11/cli-command-tree/

    • chevron_right

      Cassidy James Blaede: Publish Your Godot Engine Game to Flathub

      news.movim.eu / PlanetGnome • 11 December, 2024 • 19 minutes

    card.png

    If you follow me on the fediverse ( @cassidy@blaede.family ), you may have seen me recently gushing about ROTA , a video game I recently discovered. Besides the absolutely charming design and ridiculously satisfying gameplay, the game itself is open source , meaning the developer has published the game’s underlying code out to the world for anyone to see, learn from, and adapt.

    Screenshot of ROTA, a colorful 2D platformer

    As someone passionate about the Linux desktop ecosystem broadly and Flathub as an app store specifically, I was excited by the possibility of helping to get ROTA onto Flathub so more people could play it—plus, such a high-quality game being on Flathub helps the reputation and image of Flathub itself. So I kicked off a personal project (with the support of my employer¹) to get it onto Flathub —and I learned a lot —especially what steps were confusing or unclear.

    As a result, here’s how I recommend publishing your Godot Engine game to Flathub. Oh, and don’t be too scared; despite the monumental size of this blog post, I promise it’s actually pretty easy! 😇

    Overview

    Let’s take a look at what we’re going to achieve at a high level. This post assumes you have source code for a game built with a relatively recent version of Godot Engine (e.g. Godot Engine 3 or 4), access to a Linux computer or VM for testing, and a GitHub account. If you’re missing one of those, get that sorted before continuing! You can also check the list of definitions at the bottom of this page for reference if you need to better understand something, and be sure to check out the Flathub documentation for a lot more details on Flatpak publishing in general.

    Illustration with the Godot Engine logo, then an arrow pointing to the Flathub logo

    To build a Flatpak of a Godot Engine game, we only need three things:

    1. Exported PCK file
    2. Desktop Entry, icon, and MetaInfo files
    3. Flatpak manifest to put it all together

    The trick is knowing how and where to provide each of these for the best experience publishing your game (and especially updates) to Flathub. There are a bunch of ways you can do it, but I strongly recommend:

    1. Upload your PCK file to a public, versioned URL, e.g. as a source code release artifact.

    2. Include the Desktop Entry, icon, and MetaInfo files in the repo with your game’s source code if it’s open source, or provide them via a dedicated repo, versioned URL, or source code release artifact.

      You can alternatively upload these directly to the Flatpak Manifest repository created by Flathub, but it’s better to keep them with your game’s other files if possible.

    3. Your manifest will live in a dedicated GitHub repo owned by the Flathub org. It’s nice (but not required) to also include a version of your manifest with your game’s source code for easier development and testing.

    Let’s get into each of those steps in more detail.

    1. Handling Your PCK File

    When you export a Godot Engine game for PC, you’re actually creating a platform-agnostic PCK file that contains all of your game’s code and assets, plus any plugins and libraries. The export also provides a copy of the platform-specific binary for your game which—despite its name—is actually just the Godot Engine runtime. The runtime simply looks for a PCK file of the same name sitting on disk next to it, and runs it. If you’re familiar with emulating retro games, you can think of the binary file as the Godot “emulator”, and the PCK file as your game’s “ROM.”

    To publish to Flathub, we’ll first need your game’s exported PCK file accessible somewhere on the web via a public, versioned URL. We’ll include that URL in the Flatpak manifest later so Flatpak Builder knows where to get the PCK file to bundle it with the Godot Engine binary into a Flatpak. Technically any publicly-accessible URL works here, but if your game is open source, I highly recommend you attach the PCK file as a release artifact wherever your source code is hosted (e.g. GitHub). This is the most similar to how open source software is typically released and distributed, and will be the most familiar to Flathub reviewers as well as potential contributors to your game.

    No matter where you publish your PCK file, the URL needs to be public, versioned, and stable : Flatpak Builder should always get the exact same file when hitting that URL for that release, and if you make a new release of your game, that version’s PCK file needs to be accessible at a new URL. I highly recommend semantic versioning for this, but it at least needs to be incrementally versioned so it’s always obvious to Flathub reviewers which version is newest, and so it matches to the version in the MetaInfo (more on that later). Match your game’s regular versioning scheme if possible.

    Bonus Points: Export in CI

    Since Godot Engine is open source and has command-line tools that run on Linux, you can use a source code platform’s continuous integration (CI) feature to automatically export and upload your PCK file. This differs a bit depending on your source code hosting platform and Godot Engine version, but triggered by a release, you run a job to:

    1. Grab the correct version of the Godot Engine tools binary from their GitHub release
    2. Export the PCK file from the command line ( Godot Docs )
    3. Upload that PCK file to the release itself

    This is advantageous because it ensures the PCK file attached to the release is exported from the exact code from in the release, increasing transparency and reducing the possibility of human error. Here is one example of such a CI workflow.

    About That Binary…

    Since the exported binary file is specific to the platform and Godot Engine version but not to your game, you do not need to provide it when publishing to Flathub; instead, Flathub builds Godot Engine runtime binaries from the Godot Engine source code for each supported version and processor architecture automatically. This means you just provide the PCK file and specify the Godot Engine version; Flathub will build and publish your Flatpak for 64-bit Intel/AMD PCs, 64-bit ARM computers, and any supported architectures in the future.

    2. Desktop Entry, Icon, and MetaInfo Files

    Desktop Entry and MetaInfo are FreeDesktop.org specifications that ensure Linux-based OSes interoperate; for our purposes, you just need to know that a Desktop Entry is what makes your game integrate on Linux (e.g. show in the dock, app menus, etc.), while MetaInfo provides everything needed to represent an app or game in an app store, like Flathub.

    Writing them is simple enough, especially given an example to start with. FreeDesktop.org has a MetaInfo Creator web app that can even generate a starting point for you for both, but note that for Flathub:

    • The icon name given must match the app ID, which the site lists as a “Unique Software Identifier”; don’t worry about icon filenames yet, as this can be handled later in the manifest

    • The “Executable Name” will be godot-runner for Godot Engine games

    If included in your source code repository, I recommend storing these files in a flatpak/ directory as launcher.desktop , metainfo.xml , and, if it doesn’t exist in a suitable format somewhere else in the repo, icon.png . The exported names will need to match the app ID, but that can be handled later in the manifest.

    If your game is not open source or these files are not to be stored in the source code repository, I recommend storing and serving these files from the same versioned web location as your game’s PCK file.

    Here are some specifics and simple examples to give you a better idea:

    Desktop Entry

    You’ll only ever need to set Name, Comment, Categories, and Icon. See the [Additional Categories spec]((https://specifications.freedesktop.org/menu-spec/latest/additional-category-registry.html) what you can include in addition to the Game category. Note the trailing semicolon!

    [Desktop Entry]
    Name=ROTA
    Comment=Gravity bends beneath your feet
    Categories=Game;KidsGame;
    Icon=net.hhoney.rota
    Exec=godot-runner
    Type=Application
    Terminal=false
    
    flatpak/launcher.desktop

    Icon

    This is pretty straightforward; you need an icon for your game! This icon is used to represent your game both for app stores like Flathub.org and the native app store clients on players computers, plus as the launcher icon e.g. on the player’s desktop or dock.

    If your game is open source, it’s easy enough to point to the same icon you use for other platform exports. If you must provide a unique icon for Flathub (e.g. for size or style reasons), you can include that version in the same place as your Desktop Entry and MetaInfo files. The icon must be a square as an SVG or 256×256 pixel (or larger) PNG.

    MetaInfo

    I won’t cover absolutely everything here (see the Flathub docs covering MetaInfo Guidelines for that), you should understand a few things about MetaInfo for your game.

    The top-most id must be in valid RDNN format for a domain or code hosting account associated with the game. For example, if your website is example.com , the ID should begin with com.example. . You should also use this prefix for the developer id to ensure all of your apps/games are associated with one another. I strongly recommend using your own domain name rather than an io.itch. or io.github. prefix here, but ultimately it is up to you. Note that as of writing, Itch.io-based IDs cannot be verified on Flathub .

    Screenshots should be at stable URLs; e.g. if pointing to a source code hosting service, make sure you’re using a tag (like 1.0.0 ) or commit (like 6c7dafea0993700258f77a2412eef7fca5fa559c ) in the URL rather than a branch name (like main ). This way the right screenshots will be included for the right versions, and won’t get incorrectly cached with an old version.

    You can provide various URLs to link people from your game’s app store listing to your website, an issue tracker, a donation link, etc. In the case of the donation link, the Flathub website displays this prominently as a button next to the download button.

    Branding colors and screenshots are some of your post powerful branding elements! Choose colors that compliment (but aren’t too close to) your game’s icon. For screenshots, include a caption related to the image to be shown below it, but do not include marketing copy or other graphics in the screenshots themselves as they may be rejected.

    Releases must be present, and are required to have a version number; this must be an incrementing version number as Flatpak Builder will use the latest version here to tag the build. I strongly recommend the simple Semantic Versioning format, but you may prefer to use a date-based 2024.12.10 format. These release notes show on your game’s listing in app stores and when players get updates, so be descriptive—and fun!

    Content ratings are developer-submitted, but may be reviewed by Flathub for accuracy—so please, be honest with them. Flathub uses the Open Age Ratings Service for the relevant metadata; it’s a free, open source, and straightforward survey that spits out the proper markup at the end.

    This example is pretty verbose, taking advantage of most features available:

    <?xml version="1.0" encoding="UTF-8"?>
    <component type="desktop-application">
      <id>net.hhoney.rota</id>
      
      <name>ROTA</name>
      <summary>Gravity bends beneath your feet</summary>
    
      <developer id="net.hhoney">
        <name translatable="no">HHoney Software</name>
      </developer>
    
      <description>
        <p>Move blocks and twist gravity to solve puzzles. Collect all 50 gems and explore 8 vibrant worlds.</p>
      </description>
    
      <content_rating type="oars-1.1">
        <content_attribute id="violence-cartoon">mild</content_attribute>
      </content_rating>
      
      <url type="homepage">https://hhoney.net</url>
      <url type="bugtracker">https://github.com/HarmonyHoney/ROTA/issues</url>
      <url type="donation">https://ko-fi.com/hhoney</url>
    
      <branding>
        <color type="primary" scheme_preference="light">#ff99ff</color>
        <color type="primary" scheme_preference="dark">#850087</color>
      </branding>
    
      <screenshots>
        <screenshot type="default">
          <image>https://raw.githubusercontent.com/HarmonyHoney/ROTA/6c7dafea0993700258f77a2412eef7fca5fa559c/media/image/assets/screens/1.png</image>
          <caption>Rotate gravity as you walk over the edge!</caption>
        </screenshot>
        <screenshot>
          <image>https://raw.githubusercontent.com/HarmonyHoney/ROTA/6c7dafea0993700258f77a2412eef7fca5fa559c/media/image/assets/screens/2.png</image>
          <caption>Push, pull and rotate gravity-blocks to traverse the stage and solve puzzles</caption>
        </screenshot>
        <screenshot>
          <image>https://raw.githubusercontent.com/HarmonyHoney/ROTA/6c7dafea0993700258f77a2412eef7fca5fa559c/media/image/assets/screens/3.png</image>
          <caption>Collect all 50 gems to unlock doors and explore 8 vibrant worlds!</caption>
        </screenshot>
      </screenshots>
    
      <releases>
        <release version="1.0" date="2022-05-07T22:18:44Z">
          <description>
            <p>Launch Day!!</p>
          </description>
        </release>
      </releases>
    
      <launchable type="desktop-id">net.hhoney.rota.desktop</launchable>
      <metadata_license>CC0-1.0</metadata_license>
      <project_license>Unlicense</project_license>
    </component>
    
    flatpak/metainfo.xml

    Bonus Points: Flathub Quality Guidelines

    Beyond Flathub’s base requirements for publishing games are their Quality Guidelines . These are slightly more opinionated human-judged guidelines that, if met, make your game eligible to be featured in the banners on the Flathub.org home page, as a daily-featured app, and in other places like in some native app store clients. You should strive to meet these guidelines if at all possible!

    One common snag is the icon: generally Flathub reviewers are more lenient with games, but if you need help meeting the guidelines for your Flathub listing, be sure to reach out on the Flathub Matrix chat or Discourse forum .

    3. Flatpak manifest

    Finally, the piece that puts it all together : your manifest! This can be a JSON or YAML file, but is named the same as your game’s app ID.

    The important bits that you’ll need to set here are the id (again matching the app ID), base-version for the Godot Engine version, the sources for where to get your PCK, Desktop Entry, MetaInfo, and icon files (in the below example, a source code repository and a GitHub release artifact), and the specific build-commands that describe where in the Flatpak those files get installed.

    For the supported Godot Engine versions, check the available branches of the Godot Engine BaseApp .

    For git sources, be sure to point to a specific commit hash; I also prefer to point to the release tag as well (e.g. with tag: v1.2.3 ) for clarity, but it’s not strictly necessary. For file sources, be sure to include a hash of the file itself, e.g. sha256: a89741f… ). For a file called export.pck , you can generate this on Linux with sha256sum export.pck ; on Windows with CertUtil -hashfile export.pck sha256 .

    id: net.hhoney.rota
    runtime: org.freedesktop.Platform
    runtime-version: '24.08'
    base: org.godotengine.godot.BaseApp
    base-version: '3.6'
    sdk: org.freedesktop.Sdk
    command: godot-runner
    
    finish-args:
      - --share=ipc
      - --socket=x11
      - --socket=pulseaudio
      - --device=all
    
    modules:
      - name: rota
        buildsystem: simple
    
        sources:
          - type: git
            url: https://github.com/HarmonyHoney/ROTA.git
            commit: be542fa2444774fe952ecb22d5056a048399bc25
    
          - type: file
            url: https://github.com/HarmonyHoney/ROTA/releases/download/something/ROTA.pck
            sha256: a89741f56eb6282d703f81f907617f6cb86caf66a78fce94d48fb5ddfd65305c
    
        build-commands:
          - install -Dm644 ROTA.pck ${FLATPAK_DEST}/bin/godot-runner.pck
          - install -Dm644 flatpak/launcher.desktop ${FLATPAK_DEST}/share/applications/${FLATPAK_ID}.desktop
          - install -Dm644 flatpak/metainfo.xml ${FLATPAK_DEST}/share/metainfo/${FLATPAK_ID}.metainfo.xml
          - install -Dm644 media/image/icon/icon256.png ${FLATPAK_DEST}/share/icons/hicolor/256x256/apps/${FLATPAK_ID}.png
    
    
    net.hhoney.rota.yml

    Once you have your manifest file, you’re ready to test it and submit your game to Flathub . To test it, follow the instructions at that link on a Linux computer (or VM); you should be able to point Flatpak Builder to your manifest file for it to grab everything and build a Flatpak of your game.

    The Flathub Submission PR process is a bit confusing; you’re just opening a pull request against a specific new-pr branch on GitHub that adds your manifest file; Flathub will then human-review it and run automated tests on it to make sure it all looks good. They’ll provide feedback on the PR if needed, and then if it’s accepted, a bot will create a new repo on the Flathub org just for your game’s manifest. You’ll automatically have the correct permissions on this repo to be able to propose PRs to update the manifest, and merge them once they pass automated testing.

    Please be sure to test your manifest before submitting so you don’t end up wasting reviewers’ time. 🙏

    You Did It!

    You published your game to Flathub! Or at least you made it this far in the blog post; either way, that’s a win.

    I know this was quite the slog to read through; my hope is that it can serve as a reference for game developers out there. I’m also interested in adapting it into documentation for Flatpak, Flathub, and/or Godot Engine—but I wasn’t sure where it would fit and in what format. If you’d like to adapt any of this post into proper documentation, please feel free to do so!

    If you spot something wrong or just want to reach out, hit me up using any of the links in the footer.

    Bonus Points: Publishing Updates

    When I wrapped this blog post up, I realized I missed mentioning how to handle publishing updates to your game on Flathub. While I won’t go into great detail here, the gist is:

    1. Update your MetaInfo file with the new release version number, timestamp, and release notes; publish this either in your source code repo or alongside the PCK file; if you have new screenshots, be sure to update those URLs in the MetaInfo file, too!

    2. Export a new PCK file of your release, uploading it to a public, stable URL containing the new version number (e.g. a GitHub release)

    3. Submit a pull request against your Flatpak manifest’s GitHub repo, pointing the manifest at new versioned locations of your files; be sure to update the file hashes as well!

    After passing automated tests, a bot will comment on the PR with command to test your Flatpak. Do this as the resulting Flatpak is what will be published to players after the PR is merged. If it all looks good, merge it, and you’re set! If not, repeat the above steps until everything is as expected. :)


    ¹At Endless , we run game-making programs to help underrepresented learners develop and practice soft skills like communication, problem decomposition, and collaboration—as well as technical skills—through an immersive journey of video game development.

    Godot Engine is an important tool for these programs, and we are constantly looking for examples of open source games built with Godot Engine to use as examples or even real-world projects for learners. This is how I came across ROTA, but getting ROTA onto Flathub in and of itself was a great learning opportunity for me to better understand open source game development, Godot Engine, building Flatpaks, and publishing to Flathub.


    Definitions

    There are a lot of terms and technologies involved on both the Godot Engine and Flathub side, so let’s start with some definitions. Don’t worry if you don’t fully understand each piece of these, but you can use this as a cheat sheet to refer back to.

    Godot Engine

    Open source game engine that includes the editor (the actual app you use to create a game), tools (command-line tools for exporting a game), and runtime (platform-specific binary distributed with your game which actually runs it)

    Export

    Prepare your game for distribution; Godot Engine’s export workflow packages up your game’s code, assets, libraries, etc. and turns it into a playable game.

    PCK File

    The platform-agnostic result of a Godot Engine export to use along with the platform-specific runtime. Contains all of your game’s code, assets, etc. packed up with a .pck extension.

    Flatpak

    App/game packaging format for Linux that works across nearly every different Linux distribution. An important design of Flatpak is that it is sandboxed , which keeps each app or game from interfering with one another and helps protect players’ privacy.

    Flathub

    The de facto Linux app store with thousands of apps and games, millions of active users , and a helpful community of open source people like me! It uses Flatpak and other open standards to build, distribute, and update apps and games.

    Flatpak Manifest

    A structured file (in JSON or YAML format) that tells Flatpak how to package your game, including where to get the game itself from. Flathub hosts the manifest files for apps and games on their GitHub organization, regardless of where your game is developed or hosted.

    Flatpak Builder

    Command-line tool that takes a Flatpak manifest and uses it to create an actual Flatpak. Used for local testing, CI workflows, and Flathub itself.

    Flatpak BaseApp

    Shared base for building a Flatpak; i.e. all Godot 3.6 games can use the same BaseApp to simplify the game’s manifest, and Flatpak Builder will take care of the common Godot 3.6-specific bits.

    Desktop Entry

    A simple INI-like file that determines how your game shows up on Linux, i.e. its name, icon, and categories.

    MetaInfo

    Open standard for describing apps and games to be displayed in app stores; used by Flathub and Linux app store clients to build your game’s listing page.

    App ID

    A unique ID for your game in reverse domain name notation (RDNN), based on a valid web domain or source code hosting account you control. Required by Flatpak and validated by Flathub to ensure an app or game is what it claims to be.

    Flathub Verification

    Optional (but highly recommended!) process to verify that your game on Flathub is published by you. Uses your game’s app ID to verify ownership of your domain or source code hosting account.

    • wifi_tethering open_in_new

      This post is public

      cassidyjames.com /blog/publish-godot-engine-game-flathub-flatpak/

    • Pictures 1 image

    • visibility
    • chevron_right

      Christian Hergert: Vacation? What’s that?

      news.movim.eu / PlanetGnome • 8 December, 2024 • 2 minutes

    I tend to bulk most of my vacation at the end of the year because it creates enough space and time for fun projects. Last year, however, our dog Toby went paraplegic and so were care-taking every three hours for about two months straight. Erratic sleep, erratic self-care, but in the end he could walk again so definitely worth it.

    That meant I didn’t really get to do my fun end-of-year hacks beyond just polishing Ptyxis which I had just prototyped for RHEL/CentOS/Bluefin (and more recently Fedora).

    This year I’m trying something I’ve wondered about for a while. What would it look like if you shoved a full-featured IDE into the terminal?

    The core idea that makes this possible is using a sub-shell with a persistent parent process. So just like you might “ jhbuild shell ” you can “ foundry enter ” to enter the “IDE”.

    In the JHBuild case it would exec over itself after setting things up. In the foundry case it maintains an ancestor process and spawns a sub-shell beneath that.

    When running foundry commands from a sub-shell it will proxy that work to the ancestor instance. This all happens with a private D-Bus peer-to-peer process. So you can have multiple of these in place across different terminal tabs eventually.

    This is all built with a “libfoundry” that I could consume from Builder in the future to provide the same feature from a full-blown GTK-based IDE too. Not to mention the IDE becomes instantly script-able from your shell. It also becomes extremely easy to unit test.

    Since I originally created Builder, I wrote a library to make doing futures, concurrency, and fibers much easier in C. That is libdex . I tend to make things more concurrent while also reducing bug counts when using it. Especially for the complex logic parts which can be written in synchronous looking C even though it is asynchronous in nature.

    So the first tenant of the new code is that it will be heavily based on DexFuture .

    The second tenant is going to be a reversal of something I tried hard to avoid in Builder. That is a “dot” directory in projects. I never liked how IDEs would litter projects with state files in projects. But since all the others continue to do so I don’t see much value in tying our hands behind our back out my own OCD purity. Instead, we’ll drop a .foundry directory with appropriate VCS ignore files. This gives us convenient space for a tmpdir, project-wide settings, and user settings.

    The project is just getting started, but you can follow along at chergert/foundry and I’ll try to write more tidbits as I go.

    Next time, we’ll cover how the command line tools are built as an N-ary tree to make tab-completion from bash easy.

    • wifi_tethering open_in_new

      This post is public

      blogs.gnome.org /chergert/2024/12/08/vacation-whats-that/

    • chevron_right

      This Week in GNOME: #177 Scrolling Performance

      news.movim.eu / PlanetGnome • 6 December, 2024 • 2 minutes

    Update on what happened across the GNOME project in the week from November 29 to December 06.

    GNOME Core Apps and Libraries

    Files

    Providing a simple and integrated way of managing your files and browsing your file system.

    Peter Eisenmann reports

    Khalid Abu Shawarib greatly improved Files' scrolling performance in folders with many thumbnails. The changes resulted in an approximate 10x increase of FPS on tested machines. For details see https://gitlab.gnome.org/GNOME/nautilus/-/merge_requests/1659

    GTK

    Cross-platform widget toolkit for creating graphical user interfaces.

    Jeremy Bicha says

    GTK’s Emoji Chooser has been updated for Unicode 16 . This is included in the new GTK 4.17.1 development release and will also be in 4.16.8.

    Third Party Projects

    Pipeline

    Follow your favorite video creators.

    schmiddi reports

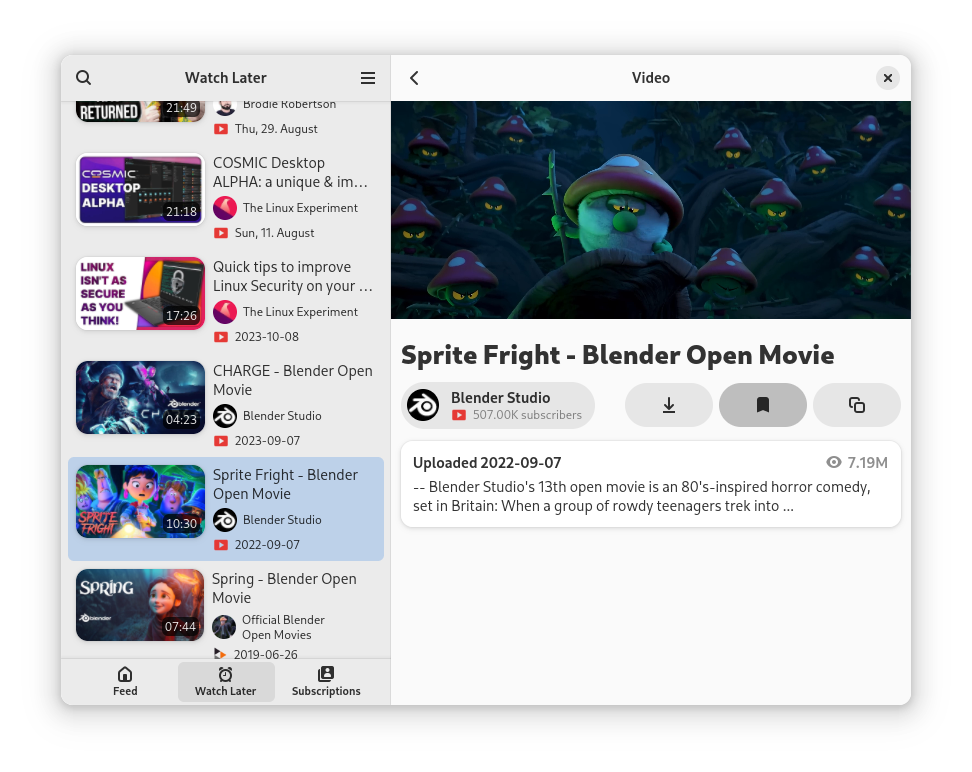
    Pipeline version 2.1.0 was released. This release brings some major UI improvements to the channel page and video page, which were mostly implemented by lo. There are also many fixes included in this release, for example very long channel names and video title not allowing the window to shrink to narrow displays, or fixing a bug where the watch-later list was scrolled to the bottom at startup. Compared to the last TWIG announcement, there were also three minor releases fixing many more bugs, like bad video player performance on some devices or errors migrating from the old versions of the application.

    Miscellaneous

    Sophie 🏳️‍🌈 🏳️‍⚧️ (she/her) reports

    Image Viewer (Loupe) landed in GNOME 45 with its own image loading library, glycin . The reason was that the previously used library GdkPixbuf did not fulfill the security and feature requirements we have for an image loader today.

    In parallel to the ongoing work on glycin and Loupe , there have been thoughts on introducing glycin to the rest of GNOME. There are more details available in a new Move away from GdkPixbuf GNOME initiative. Contributions and feedback are very welcome.

    You can also support my work on glycin and Loupe financially.

    GNOME Foundation

    ramcq announces

    The GNOME Foundation is pleased to announce its Request for Proposals for contractors to complete the Digital Wellbeing / Parental Controls and Flathub Payments projects funded by Endless. Please see the GNOME Desktop-Wide Web/Network Filtering and Flathub Program Management posts on the project Discourse forums for the full RFQ details, where you can also ask any questions you have for the project teams. Both roles are open for applications until Wednesday December 18th and we look forward to discussing the projects with prospective applicants and reviewing your proposals.

    That’s all for this week!

    See you next week, and be sure to stop by #thisweek:gnome.org with updates on your own projects!

    • chevron_right

      Jussi Pakkanen: Compiler daemon thought experiment

      news.movim.eu / PlanetGnome • 4 December, 2024 • 2 minutes

    According to information I have picked up somewhere (but can't properly confirm via web searches ATM)  there was a compiler in the 90s (the IBM VisualAge compiler maybe?) which had a special caching daemon mode. The basic idea was that you would send your code to that process and then it could return cached compile results without needing to reparse and reprocess same bits of code over and over. A sort of an in-compiler CCache, if you will. These compilers no longer seem to exist, probably because you can't just send snippets of code to be compiled, you have to send the entire set of code up to the point you want to compile. If it is different, for example because some headers are included in a different order, the results can not be reused. You have to send everything over and at that point it becomes distcc.

    I was thinking about this some time ago (do not ask why, I don't know) and while this approach does not work in the general case, maybe it could be made to work for a common special case. However I am not a compiler developer so I have no idea if the following idea could work or not. But maybe someone skilled in the art might want to try this or maybe some university professor could make their students test the approach for course credit.

    The basic idea is quite simple. Rather than trying to cache compiler internal state to disk somehow, persist it in a process without even attempting to be general.

    The steps to take

    Create a C++ project with a dozen source files or so. Each of those sources include some random set of std headers and have a single method that does something simple like returns the sum of its arguments. What they do is irrelevant, they just have to be slow to compile.

    Create a PCH file that has all the std headers used in the source files. Compile that to a file.

    Start compiling the actual sources one by one. Do not use parallelism to emphasize the time difference.

    When the first compilation starts, read the PCH file contents into memory in the usual way. Then fork the process. One of the processes carries on compiling as usual. The second process opens a port and waits for connections, this process is the zygote server process.

    When subsequent compilations are done, they connect to the port opened by the zygote process, send the compilation flags over the socket and wait for the server process to finish.

    The zygote process reads the command line arguments over the socket and then forks itself. One process starts waiting on the socket again whereas the other compiles code according to the command line arguments it was given.

    The performance boost comes from the fact that the zygote process already has stdlib headers in memory in compiler native data structures. In the optimal case loading the PCH file takes effectively zero time. What makes this work (in this test at least) is that the PCH file is the same for all compilations and it is the first thing the compiler starts processing. Thus it is always the same for all compilations. Conceptually at least, the actual compiler might do something else. There may be a dozen other reasons it might not work.

    If someone tries this out, do let us know whether it actually worked.

    • wifi_tethering open_in_new

      This post is public

      nibblestew.blogspot.com /2024/12/compiler-daemon-thought-experiment.html

    • chevron_right

      Christian Hergert: Ptyxis Progress Support

      news.movim.eu / PlanetGnome • 3 December, 2024

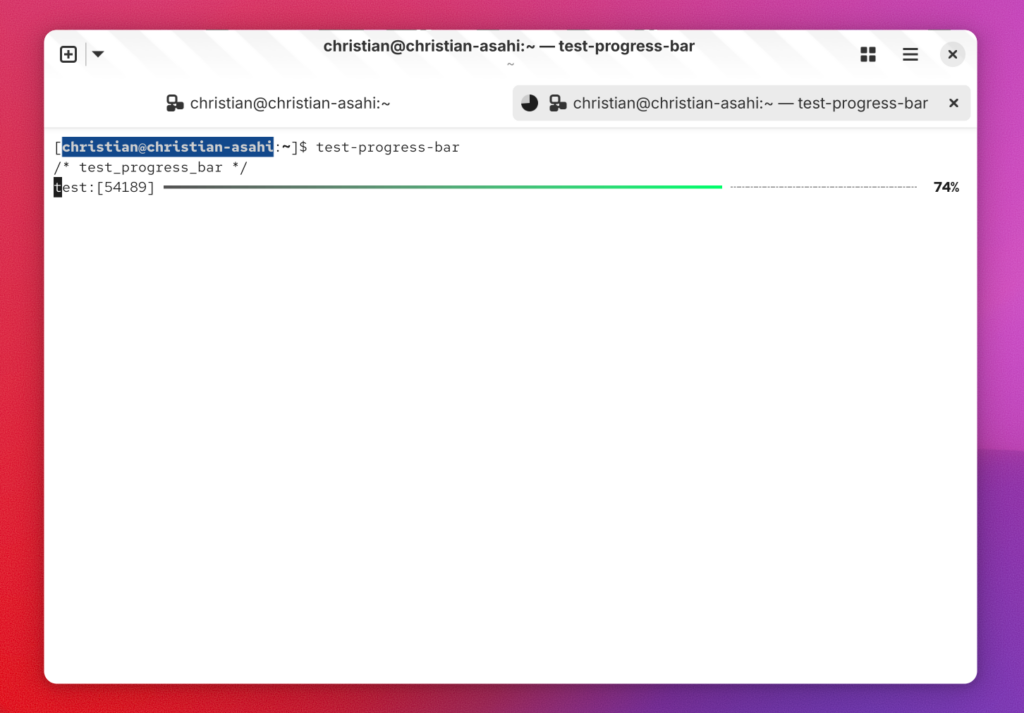
    The upcoming systemd v247 release will have support for a feature originating from ConEmu (a terminal emulator for Windows) which was eventually adopted by Windows Terminal.

    Specifically, it is an OSC (Operating System Command) escape sequence which defines progress state.

    Various systemd tools will natively support this. Terminal emulators which do not support it simply ignore the OSC sequence but those that do support it may provide additional UI to the application.

    Lennart discussed this briefly in their ongoing systemd 247 features series on Mastodon and so I took up a quick attempt to implement the sequence parsing for VTE-based terminals.

    That has since been iterated upon and landed in VTE. Additionally, Ptyxis now has corresponding code to support it as well.

    Once GNOME CI is back up and running smoothly this will be available in the Ptyxis nightly build.

    A screenshot of Ptyxis running in a window with two tabs. One of the tabs has a progress indicator icon showing about 75 percent completion of a task.

    • wifi_tethering open_in_new

      This post is public

      blogs.gnome.org /chergert/2024/12/03/ptyxis-progress-support/

    • chevron_right

      Hubert Figuière: Integrating the RawTherapee engine

      news.movim.eu / PlanetGnome • 18 March, 2023 • 6 minutes

    RawTherapee is one of the two major open source RAW photo processing applications, the other is Darktable.

    Can I leverage RawTherapee RAW processing code for use in Niepce? Yes I can.

    So let's review of I did it.

    Preamble

    License-wise GPL-3.0 is a match.

    In term of tech stack, there are a few complexities.

    1. RawTherapee is written in C++, while Niepce is being converted to Rust. Fortunately it's not really an issue, it require just a bit of work, even at the expense of writing a bit of C++.
    2. It is not designed to be used as a library: it's an application. Fortunately there is a separation between the engine (rtengine) and the UI (rtgui) which will make our life easier. There are a couple of places where this separation blurs, but nothing that can't be fixed.
    3. The UI toolkit is gtkmm 3.0 . This is a little point of friction here as Niepce uses GTK4 with some leftovers C++ code using gtkmm 4.0 . We are porting the engine, so it shouldn't matter except that the versions of neither glibmm nor cairomm match (ie they are incompatible) and the engine relies on them heavily.
    4. Build system: it uses CMake. Given that RawTherapee is not meant to be built as a library, changes will be required. I will take a different approach though.

    Organization

    The code will not be imported in the repository and instead will be used as a git submodule. I already have cxx that way for the code generator. Given that some code needs to be changed, it will reference my own fork of RawTherapee, based on 5.9, with as much as I can upstreamed.

    The Rust wrappers will live in their own crate: Niepce application code is setup as a workspace with 4 crates: npc-fwk , npc-engine , npc-craw and niepce . This would be the fifth: rtengine .

    The rtengine crate will provide the API for the Rust code. No C++ will be exposed.

    npc-craw (Niepce Camera Raw 1 ), as it is meant to implement the whole image processing pipeline, will use this crate. We'll create a trait for the pipeline and implement it for both the ncr pipeline and rtengine .

    Integrating

    Build system

    Niepce wrap everything into a meson build. So to build rtengine we will build a static library and install the supporting file. We have to bring in a lot of explicit dependencies, which bring a certain amount bloat, but we can see later if there is a way to reduce this. It's tedious to assemble everything.

    The first build didn't include everything needed. I had to fix this as I was writing the wrappers.

    Dependencies

    glibmm and cairomm: the version used for gtkmm-3.0 and gtkmm-4.0 differs. glibmm changed a few things like some enum are now C++ enum class (better namespacing), and Glib::RefPtr<> is now a std::shared_ptr<> . The biggest hurdle is the dependency on the concurrency features of glibmm ( Glib::Mutex ) that got completely removed in glibmm-2.68 (gtkmm-3.0 uses glibmm-2.4). I did a rough port to use the C++ library, and upstream has a languishing work in progress pull request . Other changes include adding explicit includes . I also need to remove gtkmm dependencies leaking into the engine.

    Rust wrapper

    I recommend heavily to make sure you can build your code with the address sanitizer. In the case of Niepce, I have had it for a long time, and made sure it still worked when I inverted the build order to link the main binary with Rust instead of C++.

    Using cxx I created a minimum interface to the C++ code. The problem was to understand how it works. Fortunately the command line interface for RawTherapee does exactly that. This is the logic we'll follow in the Rust code.

    Lets create the bridge module. We need to bridge the following types:

    • InitialImage which represents the image to process.
    • ProcParams which represents the parameters for processing the the image.
    • PartialProfile which is used to populate the ProcParams from a processing profile.
    • ProcessingJob which represents the job of processing the image.
    • ImageIO which is one of the classes the processed image data inherit from, the one that implement getting the scanlines.

    Ownership is a bit complicated you should pay attention how these types get cleaned up. For example a ProcessingJob ownership get transfered to the processImage() function, unless there is an error, in which case there is a destroy() function (it's a static method) to call. While PartialProfile needs deleteInstance() to be called before being destroyed, or it will leak.

    Example:

    let mut proc_params = ffi::proc_params_new();
    let mut raw_params = unsafe {
        ffi::profile_store_load_dynamic_profile(image.pin_mut().get_meta_data())
    };
    ffi::partial_profile_apply_to(&raw_params, proc_params.pin_mut(), false);
    

    We have created proc_params as a UniquePtr<ProcParams> . We obtain a raw_params as a UniquePtr<PartialProfile> . UniquePtr<> is like a Box<> but for use when coming from a C++ std::unique_ptr<> .

    raw_params.pin_mut().delete_instance();
    

    raw_params will be freed when getting out of scope, but if you don't call delete_instance() (the function is renamed in the bridge to follow Rust conventions), memory will leak. The pin_mut() is necessary to obtain a Pin<> of the pointer for a mutable pointer required as the instance.

    let job = ffi::processing_job_create(
        image.pin_mut(),
        proc_params.as_ref().unwrap(),
        false,
    );
    let mut error = 0_i32;
    // Warning: unless there is an error, process_image will consume it.
    let job = job.into_raw();
    let imagefloat = unsafe { ffi::process_image(job, &mut error, false) };
    if imagefloat.is_null() {
        // Only in case of error.
        unsafe { ffi::processing_job_destroy(job) };
        return Err(Error::from(error));
    }
    

    This last bit, we create the job as a UniquePtr<ProcessingJob> but then we have to obtain the raw pointer to sink either with process_image() , or in case of error, sink with processing_job_destroy() . into_raw() do consume the UniquePtr<> .

    image is also is a UniquePtr<InitialImage> and InitialImage has a decreaseRef() to unref the object that must be called to destroy the object. It would be called like this:

    unsafe { ffi::decrease_ref(image.into_raw()) };
    

    Most issues got detected with libasan, either as memory errors or as memory leaks. There is a lot of pointer manipulations, but let's limit this to the bridge and not expose it ; at least unlike in C++, cxx::UniquePtr<> consume the smart pointer when turning it into a raw pointer, there is no risk to use it again, at least in the Rust code.

    Also, some glue code needed to be written as some function take Glib::ustring instead of std::string , constructors needs to be wrapped to return UniquePtr<> . Multiple inheritence make some direct method call not possible, and static methods are still work in progress with cxx.

    One good way to test this was to write a simple command line program. As the code shown above, it's tricky to use correctly, so I wrote a safe API to use the engine, one that is more in line with Niepce "architecture".

    At that point rendering an image is the following code:

    use rtengine::RtEngine;
    
    let engine = RtEngine::new();
    if engine.set_file(filename, true /* is_raw */).is_err() {
        std::process::exit(3);
    }
    
    match engine.process() {
        Err(error) => {
            println!("Error, couldn't render image: {error}");
            std::process::exit(2);
        }
        Ok(image) => {
            image.save_png("image.png").expect("Couldn't save image");
        }
    }
    

    Results

    I have integrated it in the app. For now switching rendering engine needs a code change, there is a bit more work to integrate rendering parameters to the app logic.

    Here is how a picture from my Canon G7X MkII looked with the basic pipeline from ncr :

    ncr rendering

    Here is how it looks with the RawTherapee engine:

    RawTherapee engine rendering

    As you can notice, lens correction is applied.

    1

    there is an unrelated ncr crate on crates.io, so I decided to not use that crate name, and didn't want to use npc-ncr , even though the crate is private to the application and not intended to be published separately.

    • wifi_tethering open_in_new

      This post is public

      www.figuiere.net /hub/wlog/integrating-rtengine/